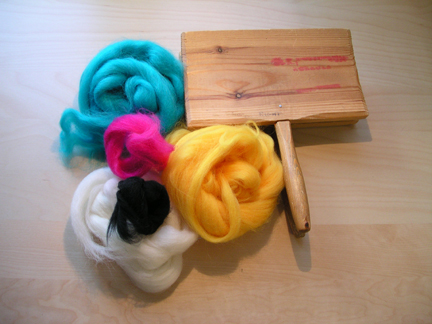
 |
Blending
dry fibers for spinning using hand cards
is a rewarding habit.
I learned this technique
in the first year of the OHS
Spinning Certificate course and I have
been playing with variations of it ever since.
You can blend for colour, fiber content,
economics, originality, or just because you
like the nifty sound the carders make when
you wield them just so.
Following are step-by-step
instructions to take you through the blending
process, ending up with roving that is ready
to spin. Yes—blended roving from
your hand cards.
But first, I'll answer
some of the FAQs that come my way when I
preach this habit: |
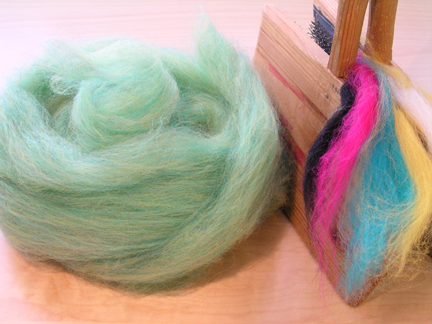 |
- Why would I blend colours instead of dyeing?
- If blending blue and yellow
gives me green fiber to spin, why don’t
I just dye the fiber green?
Dyeing
certainly has its
place, and yet I
tend to blend more
than I dye. Blending
with hand cards is a portable technique and
very little equipment and space is required.
All I need is fibers to blend, a tidy surface
to set the fibers on, and hand cards. There
are other advantages over dyeing as well. For
example, I can try a very small amount and
keep tweaking the colour variation until it’s
just right before replicating the colour in
a larger batch. I can see the effects instantly
and don’t need to wait for the dyeing
results. As with dyeing, I can record my “recipes” and
repeat a colour if I choose. And—best
of all—the colours resulting from blending
dry fibers have a rich, heathery depth that
cannot be imitated by dyed fiber.
- What fibers do I use to blend?
In theory, if it can catch in the teeth of
hand cards, it can be blended. In practice,
there are some fibers that make more sense
to blend than others and I think of these
as “ingredient
fibers.” For example, primary colour-dyed
wool roving or other solid colours of dyed
wool roving are the sorts of things I always
have in the blending cupboard. I could blend
using more interesting preparations, but in
my opinion, I’ve already paid for the
interesting work to be done to, say, a painted
roving. To override that by blending it feels
like a waste of everyone’s time. Other
ingredients I tend to keep handy: white alpaca,
white angora, black Merino roving, a range
of dyed kid mohair locks, white silk brick,
and a whole host of naturally coloured wool
rovings in grey, brown and tan.
- Can I blend different fiber types?
Yes! In fact, blending various fibers can be
one of the most satisfying ways to create your
own unique luxury yarns. It can also be an
economical way to take a small amount of a
very valuable fiber such as cashmere or qiviut
and blend it with other fibers to give your
finished yarn a wonderful hand at a fraction
of the cost. It can also be an interesting
way to create effects, for example adding a
dash of sparkly Angelina fiber. However, you
need to be aware of how the different fiber
characteristics interact. As you try to blend
two different fibers, one may bunch up in the
batt, perhaps even forming neps and noils.
Or, just when you’ve overcome these challenges
in the blending, you find that when you go
to spin the preparation, the fibers have separated
in your drafting hand. This takes some finesse.
My recommendation: focus on blending the same
fiber of different colours first, and then
play with different fiber blends once you’re
happy that you’ve got the motions down
pat.
- Why not use a drum carder for blending?
You can. But you don’t have to, and I personally
find I have more control over the colour effects
when using hand cards. Some argue that you can
crank out a lot more fiber with a drum carder.
Maybe. (If you’d like to challenge me to
a race, name the time and place!) Duels aside,
this is a portable, less expensive way to make
fabulous blended roving. You can be very productive
with hand cards, and this method offers endless
possibilities—don’t think of hand
cards as second fiddle to a drum carder. It’s
also a lot easier to clean up after each use.
And you end up with roving in the end, just
like you would with a drum carder.
Enough preamble. How do I make
blended roving with hand cards?
Here’s what I do:
1.
Let’s
say I’m
after a shade of green. I will select my ingredients
accordingly, emphasizing blue and yellow but
always including a dash of other colours to
give the blend more depth. At this stage, the
final colour is completely impossible to see—it
just looks like garish colours sitting on top
of each other looking somewhat dreadful. Just
wait!
Note: I can sample with a small amount to see
if I like this combination, or I can blend up
a huge batch if I already know the proportions.
The process is the same regardless of the quantity.
Keeping detailed notes and fiber samples is an
important habit. Whether you want to repeat a
colour or not, your notes will serve as a great
guide for any future blends.
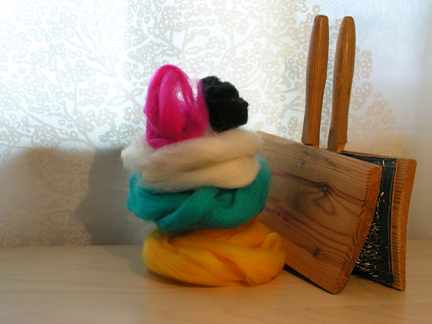
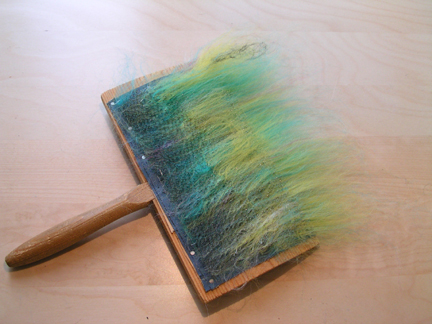
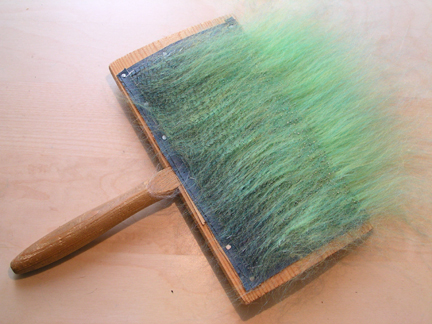
2. Using hand cards [below],
I blend batts that contain a rough approximation
of the proportions of the blend I’m after.
I blend each batt until the colour is fairly
consistent in any one batt. At this point I’m
not worried if Batt 1 is on the bluish side
and Batt 2 is on the yellowish side. I just
want to be sure that each batt is one “solid” (if
heathery) colour.
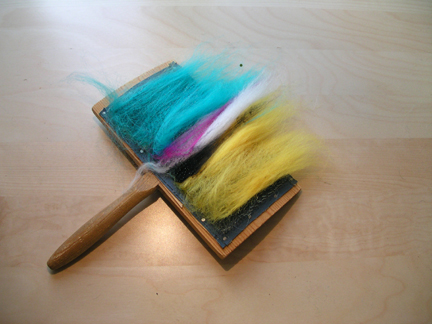  
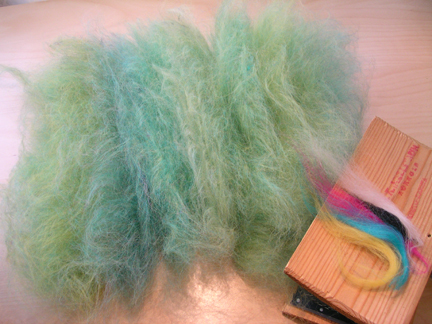
3. I stack
the batts [below] on a table or other clean
surface. If I’m blending more than 2 or
3 batts, the stack will fall on its side. That’s
okay; I keep lining them up side-by-side. At
this stage in the blending there will be a
lot of variety in the colour of the batts.
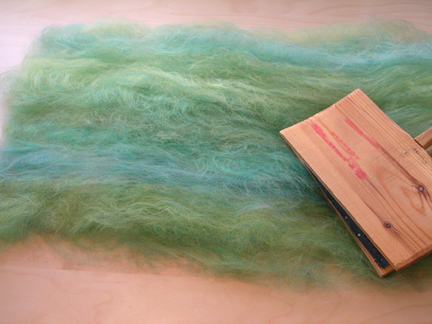
4. Once I’ve blended
all the fiber into batts, I gently stretch them
out to the same length (about a yard/metre),
keeping the ends of the batts together and trying
to stretch them fairly evenly.
5. Taking the fibers
from the end of my stretched out batts, I
card again, meaning that each new batt will
have a little bit from each of the first
bunch of batts, ensuring the blend is evened
out. Each carderful comes from the end of
these batts until it’s all been
recarded.
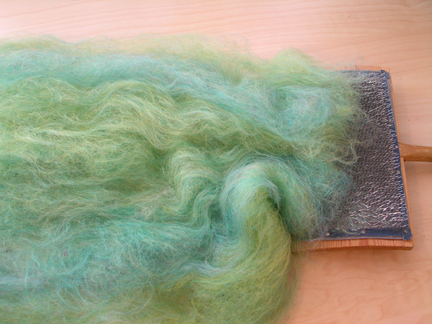
6. Again I line the batts
up. When the whole second carding
is complete, I decide: card one more time
to make the blend more even (sometimes necessary
with a huge batch)? If yes, repeat steps
4 and 5. If no, then proceed to step 7.
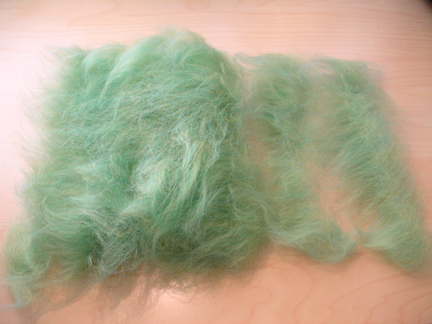
7. I stretch the batts
out again as for step 4, and I keep on stretching!
I draft the long group of side-by-side batts
into a roving by continually pulling the
ends of the batts through one gently gripped
hand, like a giant fan of fiber funnelling
through my hand and similar to the motion
you use to pre-draft regular roving. This
blends the fibers one last time.
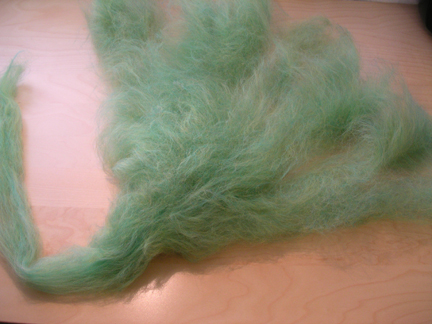
8. From this long stretched
out bunch I create a nice nest of roving.
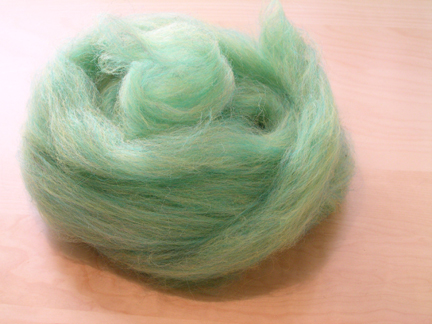
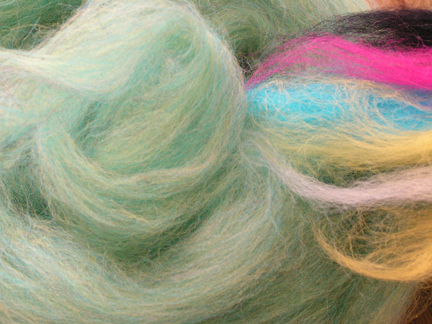
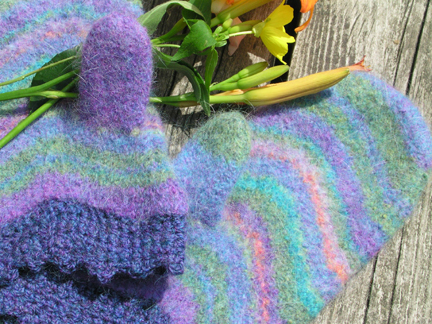
Voilà! You can make
a batch as small as two batts’s worth as
I did for the stripes in these knitted/felted
mittens made with a wool/angora blend:
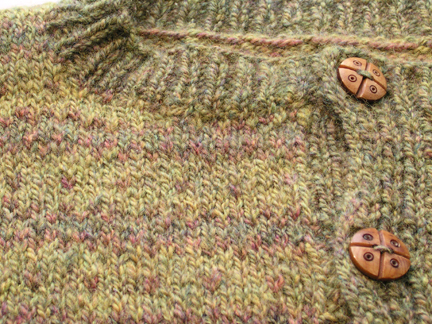
or
a whole sweater’s
worth:
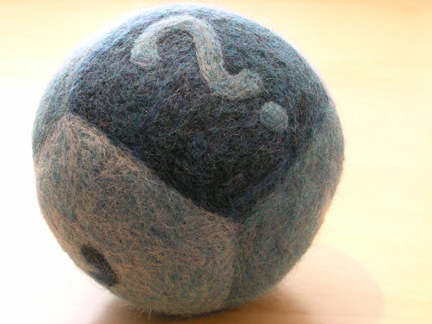
And of course you don’t
have to spin this fiber. Blending is also a great
way to create the mix you want for felting, something
I use for these felted rattle toys:
...or
for matching
fabric to disguise a stain on wool. The possibilities
are endless. All you need is a tidy surface and
a pair of hand cards, and suddenly the world
of blended fibers is all yours. Enjoy it! |

