|
|
 |
|
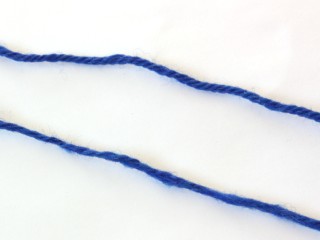
Joining In an ideal world, skeins of yarn would come in the precise yardage needed for any given project. These magical skeins would also be lightweight and extremely portable. There would DEFINITELY never be a knot. Alas, I’m pretty sure that’s never going to happen. So we as knitters have to know what to do when the yarn runs out before the project is finished. And that’s what we’re going to talk about today. |
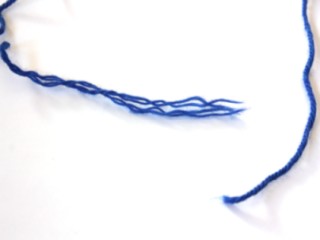
But what if you run out of yarn unexpectedly in the middle of a lace shawl with 300 stitches on the needle? Are you going to “tink” back to the edge? I think not. And so many of those things knitters love to knit - socks, hats, mittens, raglan sweaters - are knit in the round and seamless... where to hide the join then? The spit splice The animal fibers that stick together well - think fibers that shrink and stick together when subjected to moisture, heat and friction, like in your washing machine on the hot cycle - are the easiest to join invisibly. The oh-so-attractively-named "spit splice" is simply applying heat, friction and moisture to felt the two ends of yarn together. First open up the fibers on each yarn end for about an inch or two...
then overlap the ends. If the yarn is thick you can remove about half of the fibers from each end to make the join less bulky.
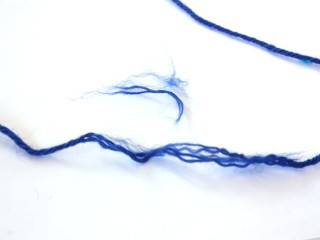
Now apply moisture by sticking the overlapping area in your mouth. (You could also dip the overlapped area in a little warm water. You never know where that sheep has been.)

Then rub the overlapping area between your palm and a surface. Your own leg in a pair of jeans is perfect.
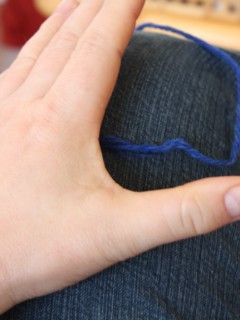
Then hold the yarn on either side of the new join and introduce some twist in the same direction as the twist in the yarn...
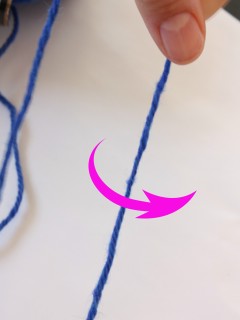
and...voila!
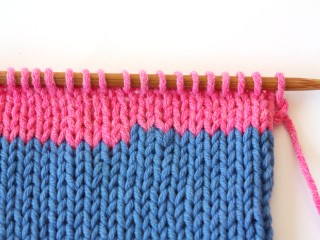
I use the spit splice join whenever I can. It doesn't require any extra tools and makes a join without any pesky yarn ends that might pop out. Perfect! An overlapping join The join I tend to use most for yarns that don't felt easily is incredibly simple to work. It's basically joining the new yarn and weaving in ends as you go! (In the following pictures, I'm using two different colors of yarn just so you can see the process more easily.) First loop the two ends together so that the strands of the old yarn are next to each other and the strands of the new yarn are next to each other. Make sure you have enough yarn between the join and the work in progress to knit about 3-4 stitches. 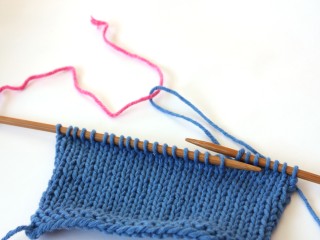
Now knit those next 3-4 stitches with the two strands of the old yarn ... 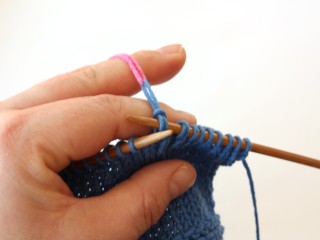
then 3-4 stitches with the two strands
of the new yarn. Be sure to treat each of these stitches
that are made of two strands of yarn as ONE stitch on the
following row or you’ll
wind up increasing by accident. 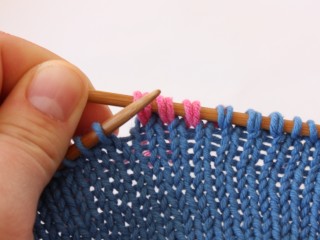
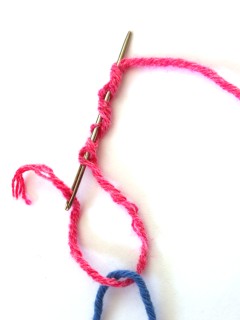
And pull through.
Repeat with the other end…

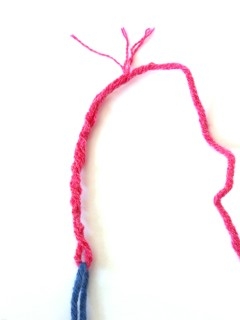
and trim off the stray ends. |
| ABOUT THE AUTHOR |
You may follow her at Twitter if you like. |
© 2010 Theresa Vinson Stenersen. Contact Theresa. |