NAME, a free knitting pattern from Knitty.com. Free knitting pattern for a DETAILS HERE.
INTRODUCTION
Lil Austin’s Blanket
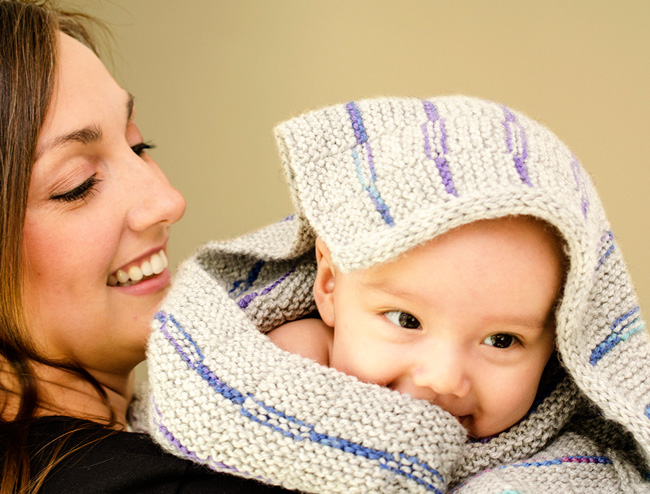

One of my weekly knitting students was welcoming her first grandchild. Her daughter, also a knitter, deserved a very special blanket for her first baby. The baby was born in December 2014 and so in his honor, I knit Lil Austin’s Blanket.
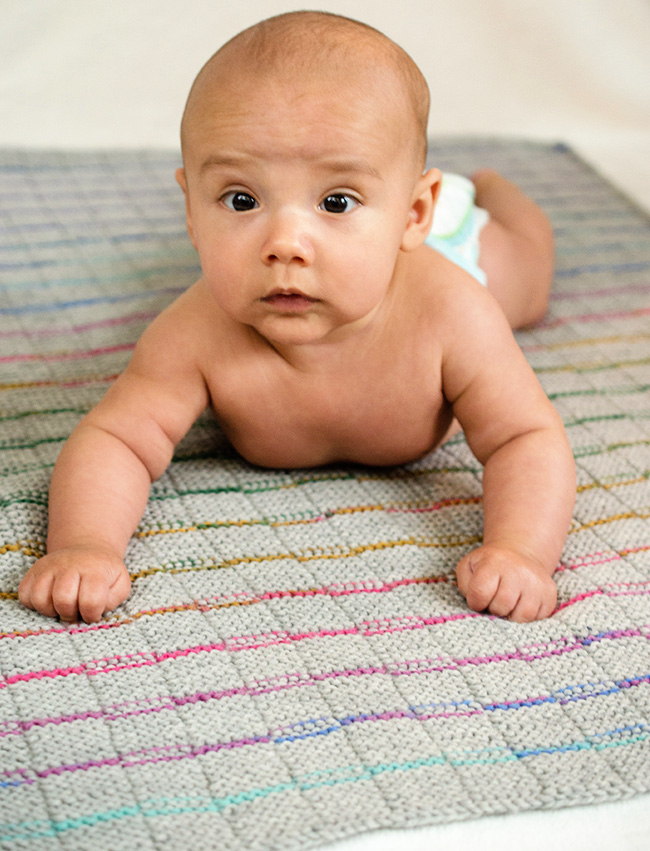
This striped, reversible blanket design introduces a technique I have not seen before, hiding and carrying the contrast color yarn within the I-cord edge: introducing Lisa’s Elegant I-Cord Edge. Fewer ends to weave, hiding and carrying the contrast yarn within the I-cord while simultaneously creating a beautiful finished edge. Over the past few years, I’ve designed various patterns that showcase this technique, Lil Austin’s Blanket is just one of these.
 photos: David & Lisa Carney-Fenton
SIZE
One
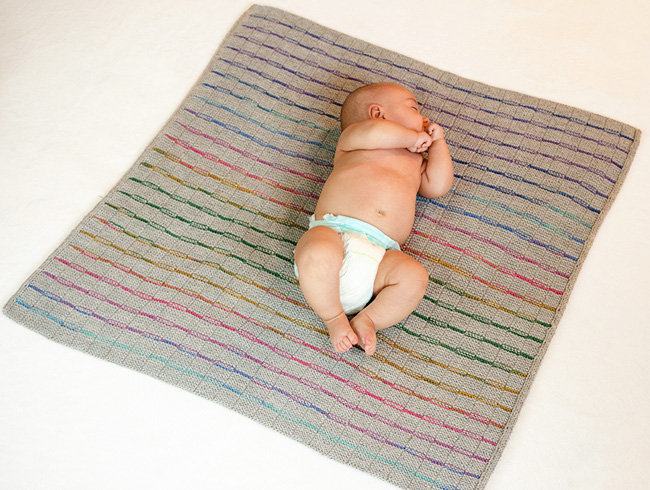
FINISHED MEASUREMENTS
Width: 32.5 inches/83 cm
Length: 35.5 inches/90cm
MATERIALS
Yarn
![]() [MC] Cascade 220 Superwash [100% Superwash wool; 220 yds/201 m per 3.5 oz/100 g ball]; 5 balls , Color #1946, Silver Grey
[MC] Cascade 220 Superwash [100% Superwash wool; 220 yds/201 m per 3.5 oz/100 g ball]; 5 balls , Color #1946, Silver Grey
![]() [CC] Classic Elite Liberty Wool Print [100% Washable Wool; 122 yds/111 m per 1.7/50 g ball]; 1 ball, Color #7831, Psychedelic Sweetness
[CC] Classic Elite Liberty Wool Print [100% Washable Wool; 122 yds/111 m per 1.7/50 g ball]; 1 ball, Color #7831, Psychedelic Sweetness
Recommended needle size
[always use a needle size that gives you the gauge listed below - every knitter's gauge is unique]
![]() 24-40 inch/50 to 100 cm US #7/4.5 mm circular needle
24-40 inch/50 to 100 cm US #7/4.5 mm circular needle
Notions
![]() locking stitch markers
locking stitch markers
![]() yarn needle
yarn needle
GAUGE
20 sts/28 rows = 4 inches/10 cm in stockinette stitch
19.5 sts/37 rows = 4 inches/10 cm in garter ridge pattern
PATTERN NOTES
[Knitty's list of standard abbreviations and techniques can be found here.]
This two-color blanket design includes an i-cord edge. The pattern includes detailed instructions for Lisa’s Elegant I-Cord Edge technique to carry the yarn, not in use, up the inside of the i-cord edge, thus “hiding” the color. The blanket has a smooth, clean edge and there is minimal weaving of ends.
Use locking stitch markers to mark right side of work. The blanket is reversible, so marking the right side will help tremendously in keeping track of the Garter Ridge Pattern rows and color changes.
All rows have 4 sts at the beginning of the row, and 4 sts at the end of the row worked in the MC for I-cord edge.
When working the Main Pattern, the edging is worked throughout in MC. In Rows 1 and 2, the remainder of the row – the central 150 stitches – are worked in CC.
Garter Ridge Pattern:
All rows: [K6, p6] to last 6 sts, k6.
DIRECTIONS
Using MC, CO 158 stitches.
Set up rows:
Rows 1-12: Sl 4 purlwise wyib, [K6, p6] to last 10 sts, k6, p4.
After completing Row 1, use locking stitch marker(s) to mark Row 1 as RS of work.
Main Pattern
Note: for the first repeat of the pattern, join CC after the slipped st edge.
Row 1 [RS]: Sl 4 pwise wyib, change to CC work Garter Ridge pattern to last 4 sts, turn.
Row 2 [WS]: Move CC to back and with CC work Garter Ridge pattern to last 4 sts. Bring CC to front of work, bring MC yarn (which is at beginning of the previous row) under and then over over the CC yarn and use it to p the last 4 sts. (CC stays at this side of work until used again.)
Row 3 [RS]: With MC, sl 4 pwise wyib, place strand of CC over MC, then work in Garter Ridge pattern to last 4 sts, p4.
Note: Placing the MC over the CC will catch the CC yarn in the i-cord, so that it is carried up the edge and hidden inside the cord.
Row 4 [WS]: With MC, sl 4 pwise wyib, work in Garter Ridge pattern to last 4 sts, p4.
Rows 5-14: Repeat Rows 3-4 5 more times.
Work these 14 rows 23 times total.
Bind off purlwise.
FINISHING
Block by soaking/washing gently in warm water with a wool wash, a mild detergent or shampoo.
Press and/or roll between towels to remove excess water. Shape and lay flat to dry.
Weave in ends.
ABOUT THE DESIGNER
 Lisa Carney-Fenton left behind 20-plus years and the long hours as a litigation paralegal to pursue her passion for knitting. An experienced knitting instructor, Lisa teaches four weekly classes at her LYS where she also works one day a week. She is also a knitwear designer whose patterns are available on Ravelry at HandworksNW. Lisa began writing patterns in 2012 following 10 years of rewording, translating and deciphering patterns for her students. As an independent designer, Lisa knits the designs, then hires test-knitters and a technical editor to ensure the publication of clearly written, user-friendly pattern instructions.
Since 2005, Lisa has produced no-snag, hand-polished Blocking Wire Kits that are sold in the U.S. and Canada. Visit Lisa’s website for all of her product offerings.
Pattern & images © 2016 Lisa Carney-Fenton. Contact Lisa