|
|
 |
|
|
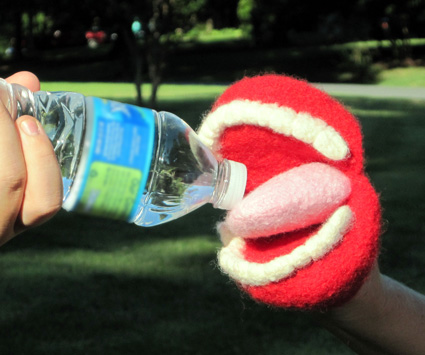 |
Inspired by a speech-therapy device, Chow loves to show
off his teeth and wiggle his tongue.
While he’s a real
loud mouth at family get-togethers, he’s always on the
look out for a snack. |
 |
|
SIZE |
|
FINISHED MEASUREMENTS |
|
MATERIALS Notions |
|
PATTERN NOTES |
|
|
|
DIRECTIONS 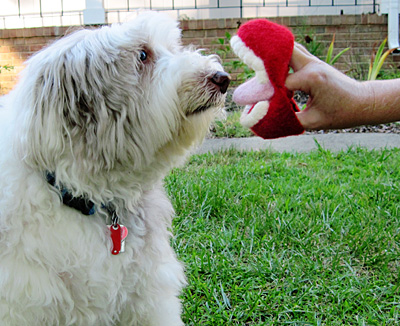
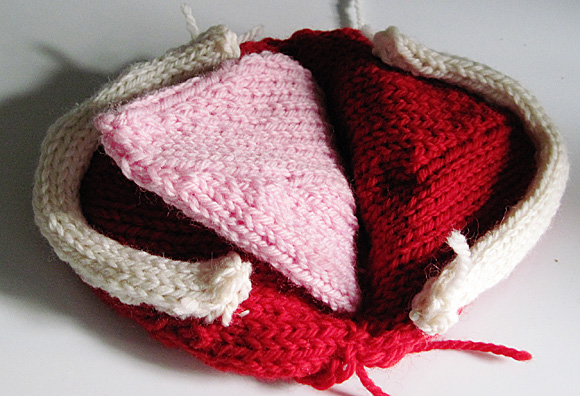
Using MC and dpns or long circular as you prefer, cast on 48 stitches. Distribute on your needles, and join for working in the round. Note or mark beginning of round. Rounds 1-10: Knit. Cut yarn, leaving an 8-inch-long tail. Thread the tail onto the yarn needle, gather the remaining stitches onto it and pull tightly to close.  Using CC1 and dpns or long circular as you prefer, cast on 36 stitches. Distribute on your needles, and join for working in the round. Note or mark beginning of round. Rounds 1-8: Knit. Cut yarn, leaving an 8-inch-long tail. Thread the tail onto the yarn needle, gather the remaining stitches onto it and pull tightly to close. TEETH (make two) Next Row: Instead of turning work around to work back
on the WS, slide all sts to other end of needle, switch
needle back to your left hand, bring yarn around back of
work, and start knitting the sts again. I-Cord is worked
with the RS facing at all times. Cut yarn, leaving an 8 inch long tail. Thread the tail onto the yarn needle, gather the remaining stitches onto it and pull tightly to close. |
|
|
|
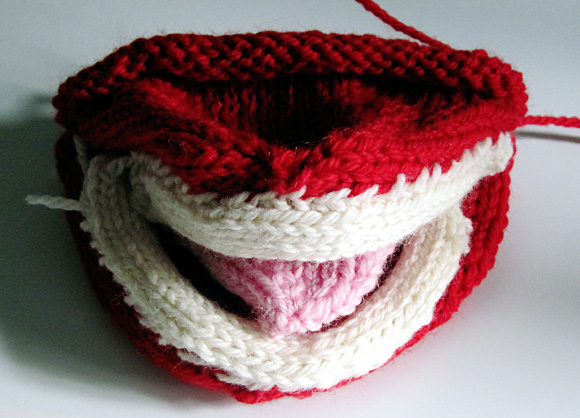
FINISHING Sandwich the tongue between the two mouth pieces, making sure to line up the back edges where the pocket openings are. Thread pink yarn through a yarn needle and, using an overhand stitch, stitch one back edge of the tongue to the corresponding back edges of the upper and lower mouth pieces. Make sure that you leave the backs of all three pieces open (the pockets) for your hand to manipulate your Chow when it’s finished. Because the tongue is smaller than the mouth pieces, there will be a little of the mouth not joined. Use red yarn to stitch these areas closed on either side of the tongue. Taking one of the i-cord rows of teeth, center it on the inside edge of one of the mouth pieces. Using the white wool yarn and the overhand stitch, secure the teeth onto the very front edge of the mouth. Repeat with the other i-cord row of teeth on the other inside mouth piece. Again, line up the edges of the teeth and the mouth and stitch them together with the white yarn. After all the components are stitched together, carefully weave in all loose ends. Place your Chow in a zippered lingerie bag and put it in the washing machine. Sprinkle in a bit of laundry detergent, set your washer on the lowest water level and the hottest water. Start it washing on the longest cycle. Stop the washer and check on Chow about every five minutes, stretching and pulling it into shape as necessary. When there are no visible stitch marks remaining, it is finished. Remove from the washer and rinse in clear water. Dry it in a towel, then shape the mouth pieces, the tongue and the teeth. Don’t be afraid to pull them into shape.
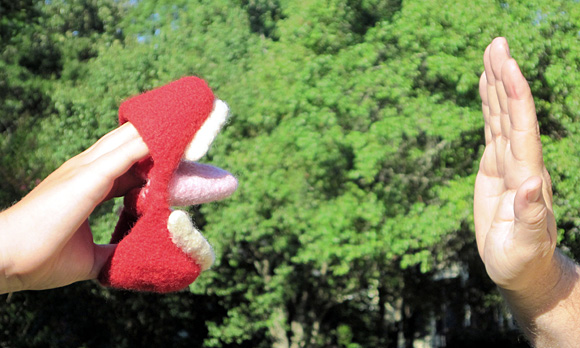
 I make the molars and the front teeth a little wider than the other teeth by spacing out the floss a bit more. When you come to the end of the I-cord, bring the floss to the inside of the mouth pocket, knot off and clip the excess. Repeat for the other row of teeth. Set Chow aside to dry. This could take several days, depending on conditions. For braces or grills [see pic above]: |
| ABOUT THE DESIGNER |
|
|
|
Pattern & images © 2010 Anita Mumm Wheeless. Contact Anita |