
|
|
 |
|
|
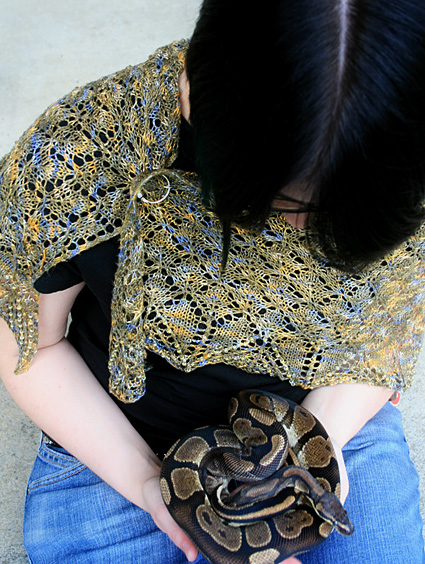 |
In helping my friend sort through her mom's stash I came across
this lovely skein of silk tucked away in a corner of the closet. It
was begging to be used. So I begged, well asked to use
it, to make her a shawl. |
|
|
 |
|
SIZE |
|
FINISHED MEASUREMENTS |
|
MATERIALS Notions |
|
GAUGE |
|
PATTERN NOTES |
|
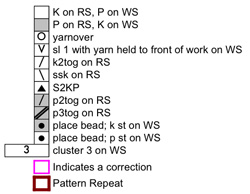
 Place Bead: Beads are placed on WS rows using a crochet
hook. To apply a bead to a st, slip bead
onto crochet hook, slip st from left needle
onto hook, slide bead down hook and around st, slip st
back onto left needle, then k or p st as indicated. Detailed
directions can be found here. Cluster 3 S2KP: Slip next 2 sts together, knitwise, as if to work a k2tog. Knit next st, then pass both slipped sts over st just knit. This forms a centered double decrease. |
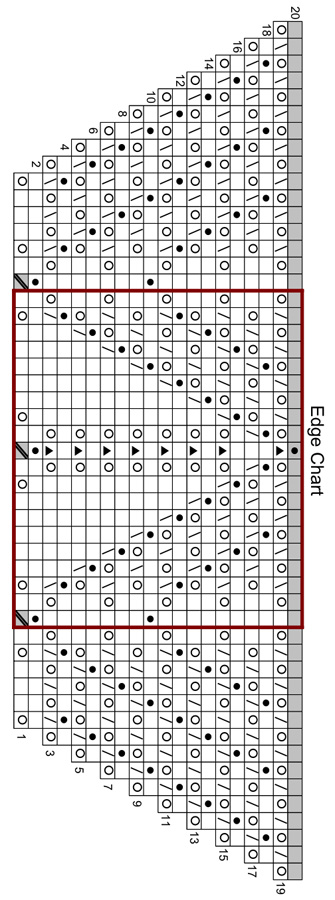
  Charts ChartsThe body and edge charts for this pattern are very large. Each fits on a letter-sized page. Click the chart name below and print the resulting page. • Body chart [revised 7.12.10] • Edge chart |
|
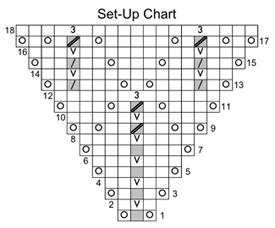
DIRECTIONS 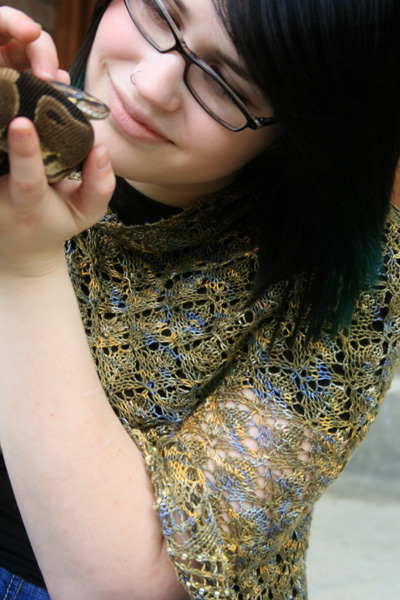
K 6 rows. At end of last row, turn work 90 degrees clockwise and pick up and k 3 sts along one long edge of work – this will be 1 st in each garter st ridge along edge. Remove waste yarn from CO edge, placing resulting 2 live sts on left needle; k these sts. 7 sts. Next Row [RS]: K2, work first row of Set-Up Chart, place marker, k1, place marker, work first row of Set-Up Chart, k2. 11 sts. The markers now in place indicate the center st of the
shawl. From this point on, k this st on RS rows, and p
it on WS rows. Continue as follows, working center st and edges sts as
set: |
|
|
FINISHING |
| ABOUT THE DESIGNER |
|
You can find more of Brenda’s designs here and
here. |
|
Pattern & images © 2010 Brenda Patipa. Contact Brenda |
