|
|
 |
|
|

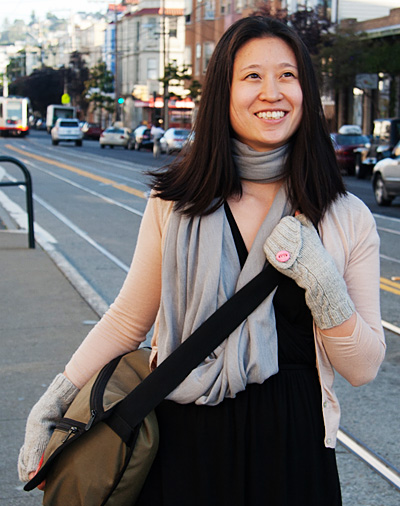
These women’s cabled fingerless gloves feature a folded ribbed cuff that is buttoned on the top cable. During my morning commute on the subway last winter, a woman sat down next to me wearing a beautiful pair of felt wool fingerless gloves with folded cuffs. They woke me right up. Whether you drive, take the train, bike, or skip to work, these gloves will keep you warm and your fingers free to multitask. An optional hidden second button under the cuff of The Commuter allows for extra coverage on cooler days. |
||

|
Tweet
|
|
|
SIZE |
|
|
FINISHED MEASUREMENTS |
 Yarn Grey gloves Blue-green gloves Notions GAUGE |
|
PATTERN NOTES |
|
C4B: Slip next 2 sts to cable needle and hold to back of work; k2 from left needle, k2 from cable needle. C4F: Slip next 2 sts to cable needle and hold to front of work; k2 from left needle, k2 from cable needle. 2x2 Rib (Worked in the round over a multiple of 4 sts): Instructions for the Cable Cast On can be found here. 
|
|
DIRECTIONS 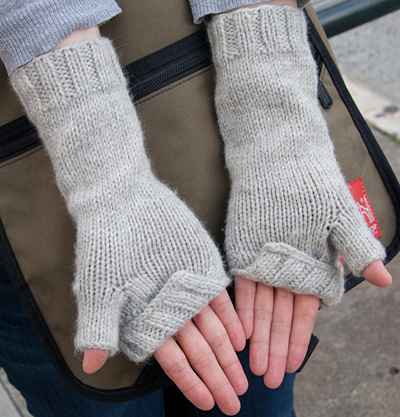
Lower Cuff: Establish Cable Pattern: Place Thumbhole: Work 6 more rounds in cable pattern as set. 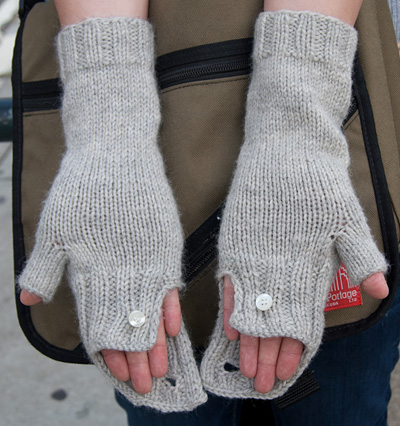 *Next Round: P3, [k2, p2] to last st, p1. Repeat this round twice more. Turn work so that WS is facing. From this point, cuff will be worked back and forth in rows. Next Row [WS]: Sl 1, [k2, p2] to last 3 sts, k3. Shape Cuff: Thumb 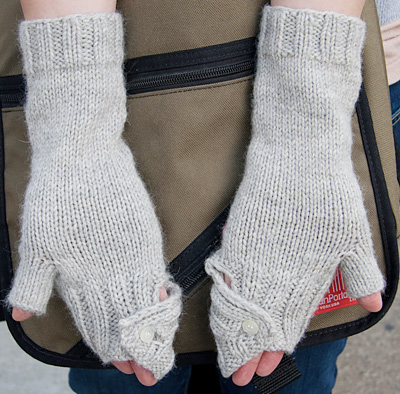 Lower Cuff: Establish Cable Pattern: Place Thumbhole: Work 6 more rounds in cable pattern as set. Upper Cuff Shape Cuff: Thumb |
|
FINISHING If desired, sew smaller buttons to cuffs as shown in photos. Cuffs may be folded over fingers and secured using smaller buttons. |
| ABOUT THE DESIGNER |
|
|
|
Pattern & images © 2011 Stephanie Sun. Contact Stephanie |