A Spinner's Compass: Measuring and Documenting Your Yarn
 |
Into the Whirled dyes beautiful fiber that spins into beautiful yarn.
|
I used to be one of those spinners who said measuring and keeping track of my yarns just wasn't for me. It takes too much time; it's too hard and confusing. I was also the spinner whose yarns started out worsted and ended up laceweight on the same bobbin. I could never match my yarns to patterns or even to other yarns I had spun for myself. It was grim.
Sometimes I want to just spin and that's great, but more and more I want to have yarn I can use for commercial patterns or my own patterns. I have a destination, but I needed to make sure I stayed on track.
So I learned to measure every bit of my yarn and write it all down. Such a simple sentence, but it can be hard to make it a habit.
Here are the basics on measuring your yarn and some simple ways to keep track.
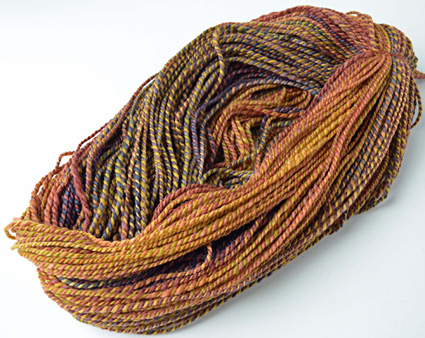
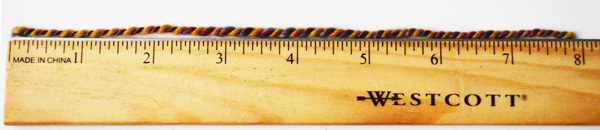
I spun four ounces of BFL/silk from Into the Whirled, woolen into a 2-ply, as my test yarn. The colorway is Rhinebeck, gorgeous isn't it?
Length
Depending on how accurate I need my length measurement to be, I either use a niddy noddy, a yardage counter or figure yardage by weight, in order to figure length. With both the niddy noddy and the yardage counter, there is an amount of pulling or placing the yarn which a can distort the length; with a weight measure, there is less distortion, but the measurement is limited to 10 yards.
The niddy noddy I use is a Schacht adjustable, set at the 2-yard mark. I wind the yarn off of the bobbin onto the niddy noddy before I set it.
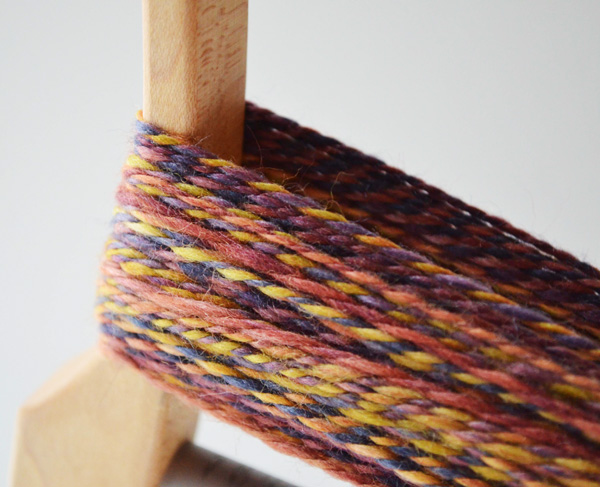 |
Yarn is pulled on a niddy noddy
|
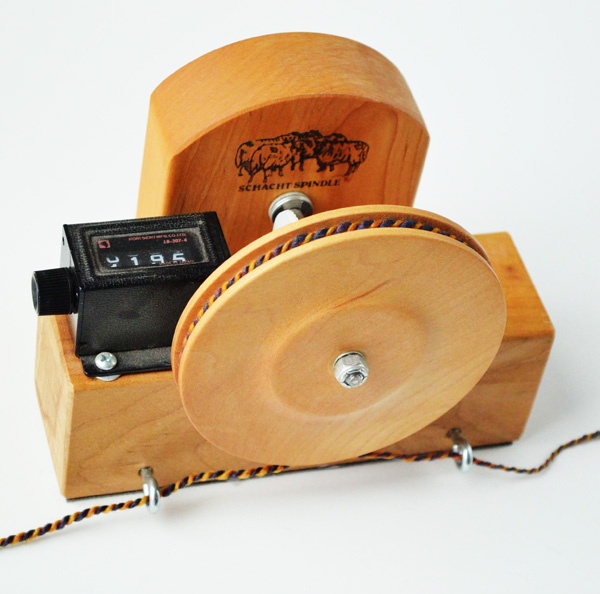
I have a Mama Bear SwiftNCount with a built in yardage counter that I wind yarn onto fresh from the bobbin.
 |
A yardage counter on a swift is very handy
|
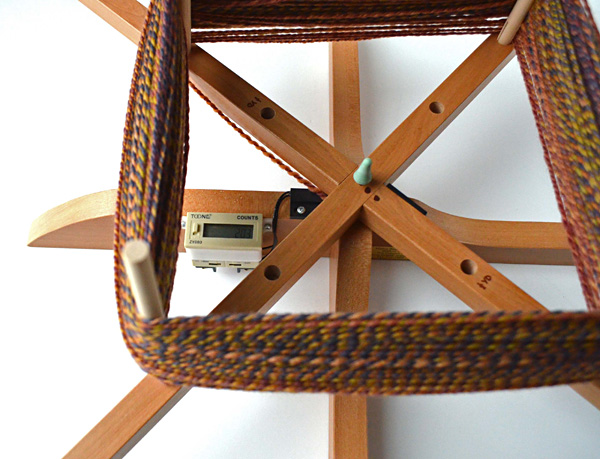
and a Schacht yardage counter when I wind from a swift into a cake after the yarn is finished and set.
 |
This is supposed to be for weaving, but I've never used it for that
|
To measure by weight I weigh 10 yards (if the yarn is inconsistent or very bulky, I use more) on a digital kitchen scale, figure the one yard weight and multiply by the weight of the entire skein.
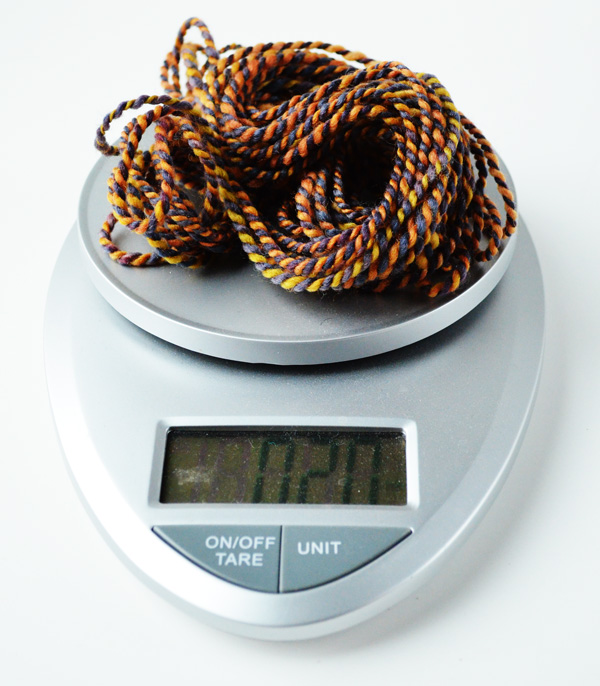 |
My digital scale is one of the most versatile tools in my kit
|
Here are the lengths I got:
- Niddy noddy: 205 yards
- Schacht yardage counter: 195
- Mama Bear SwiftNCount: 204
- Kitchen scale: 200 yards
10 yards weighed .20 ounces. I multiplied by 5 to get the 1 ounce yardage, 50 yards. I multiplied 50 by the 4 ounces in the skein for a total yardage of 200.
Width
 |
Top: Spinner's Control Card Bottom: Tardis WPI Gauge
|
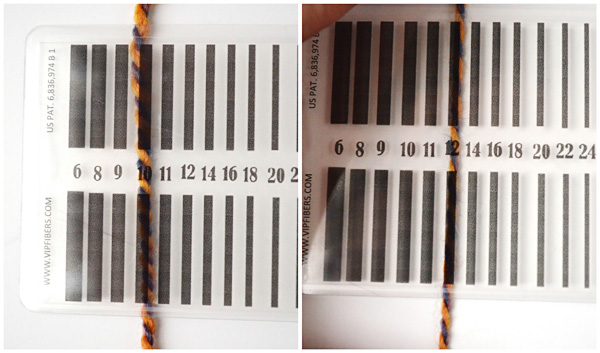
The three ways I measure the width of a yarn are with a WPI tool, with a Spinner's Control Card and with a sample yarn. The first two of these measurements can vary a lot depending on how firmly I pull on the yarn while I'm measuring.
I have a love-hate relationship with WPI gauges, I love them in their gorgeous variety, but I am terrible at consistently wrapping as I'm working on a project. Look at the difference here:
 |
Left: regular tension 10 WPI. Right: pulled tension 15 WPI
|
I use my Spinner's Control Card more, especially while I'm spinning for consistency in my singles. I lay my yarn behind the card and visually gauge its width in the space between the black lines. It's quicker for me and I can find a reasonable, repeatable tension. I usually measure the yarn just pulled straight from when it starts to ply back. Still, I can get excited or in a hurry and get varied results:
 |
Left: regular tension 10 WPI. Right: pulled tension 12 WPI
|
I always keep an index card with yarn samples of my project. On it I have an unfinished single, an unfinished plied yarn and a finished plied yarn. The quickest way to make sure that I am on track when I'm spinning to measure my singles on the bobbin next to my singles on my index card. I hold them side-by-side and just check visually.
Density
When I really need to be exact in my spinning, especially when I am duplicating a yarn already spun, I check the density of a yarn or grist. Grist gives the measurement of a yarn in length to weight -- usually how many yards are in a pound of yarn. The higher the yardage per pound, the thinner the yarn. There are two ways I measure grist: with a Yarn Balance and with a digital kitchen scale.
Grist is an important measurement because it takes into account width and weight. Just think of the difference between a DK woolen spun and a DK worsted spun yarn. If I was trying to match a DK woolen spun yarn but I drafted worsted, my WPI could be exact, but I would end up with shorter yardage and a denser, heavier yarn. Checking grist and making adjustments would fix that problem quickly.
A digital scale is a quick measure. Using the same 10 yards I used to measure length, I multiply the single ounce yardage by 16 to get yards per pound. My yarn was 50 yards per ounce or 800 yards per pound (YPP).
A Yarn Balance is a little fiddly, but accurate too. Using a Yarn Balance involves getting a length of finished yarn to balance over the arm of the Yarn Balance, then measuring it and multiplying by 100. The Yarn Balance gave my yarn a measurement of 800 YPP.
 |
Balanced yarn on the Yarn Balance
|
 |
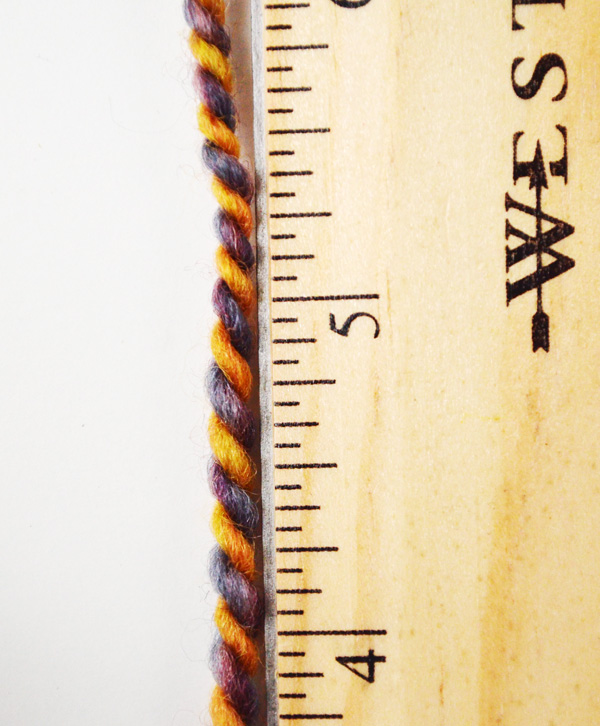
Measuring the yarn: 8"
|
Twist
Without twist, there would be no yarn. Yarn is just fiber and twist. I measure twist to keep the hand of my yarn consistent. The longer I spin on a project, I have a tendency to put in more twist, so a lovely soft drapey yarn can end up hard and wiry.
I measure twists per inch and twist angle to keep my yarn feeling and behaving exactly how I want it to.
I use twist angle most frequently with my singles.
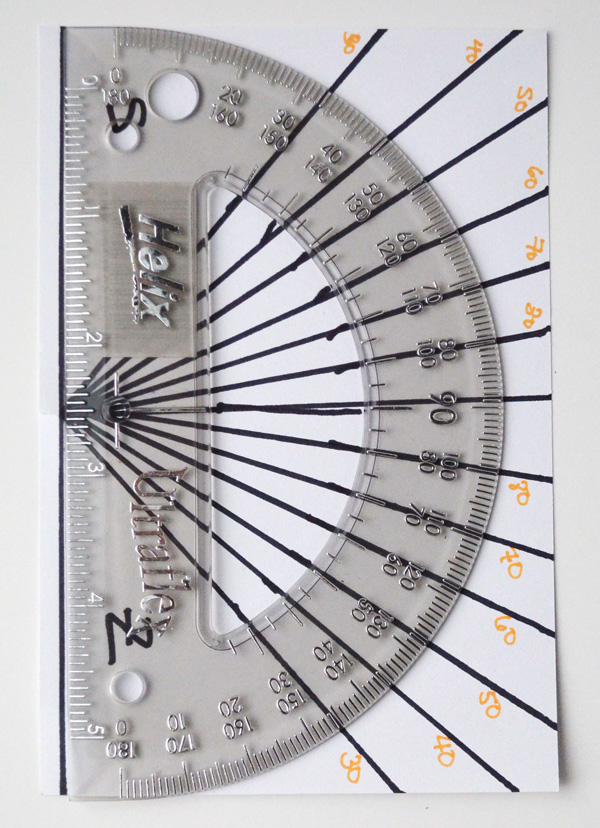
I have a twist angle gauge, or sometimes I make one especially for a project with only the twist angles I'm using for that particular project on it. To make a gauge, I use a larger index card and protractor. I line up the long edge of the protractor with the long edge of the index card and mark the 0 point. I mark the card in 5- to 10-degree increments then connect the marks to the zero point with lines.
I used a fat Sharpie for my example below so you could see easier. I usually use a finer pen.
 |
Homemade twist angle gauge
|
To measure twist angle, lay your yarn across the card and match the twist to the closest twist angle line. Things that I use to help see my twist angles are strong light, a magnifying glass and a double-pointed needle or a tapestry needles to help follow the twist in the yarn.
 |
Left: a singles twist angle of about 60 degrees. Right: a plied twist angle of about 30 degrees.
|
I use twists per inch or TPI most frequently while I'm plying. It's a quick check to make sure I'm keeping my ply twist consistent. To check TPI, all I use is a ruler and a magnifying glass, if I'm measuring singles or very fine yarn. I lay the plied yarn next to a ruler and count ply bumps. I divide the number of bumps by the number of plies and get twists per inch. If I am measuring quickly on the fly while I'm plying, I just measure ply bumps.
 |
7 bumps per inch divided by the 2 plies gives me 3.5 TPI
|
Keeping track of all of the facts
For a long time I didn't keep track of my fiber or yarn information. I was sure it didn't matter or that I would remember. That was sheer folly.
Before I spin:
I gather fiber information, all of it: type of fiber, colorway, who I bought it from, a sample of the unspun fiber. Sometimes I even include the receipt.
I write down the whys and hows of this project. What am I spinning for? A specific project? To learn or practice a skill? To sample colorplay? As much as I can think of.
While I spin:
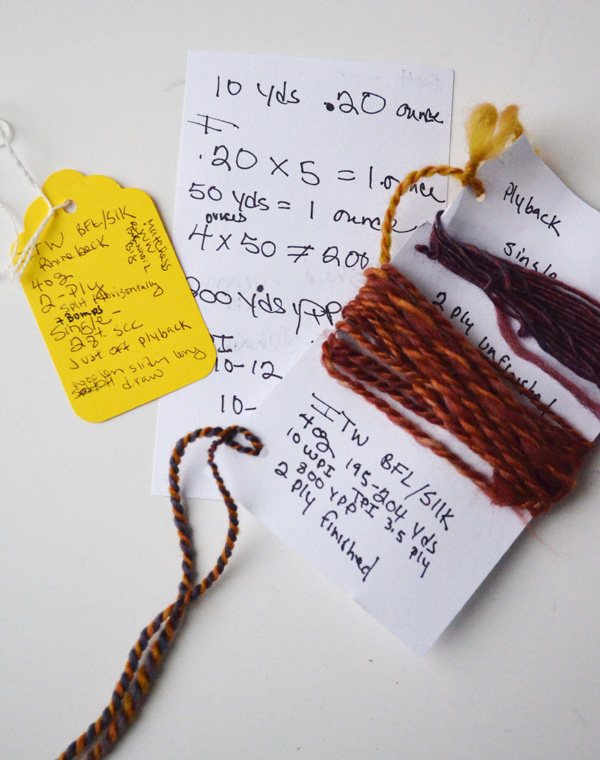
I put spinning and plying information written out on a hangtag that I attach to the wheel I'm using. I include my wheel set up and whorl size. Don't forget to include the wheel you're using, because the hangtag will eventually come off the wheel.
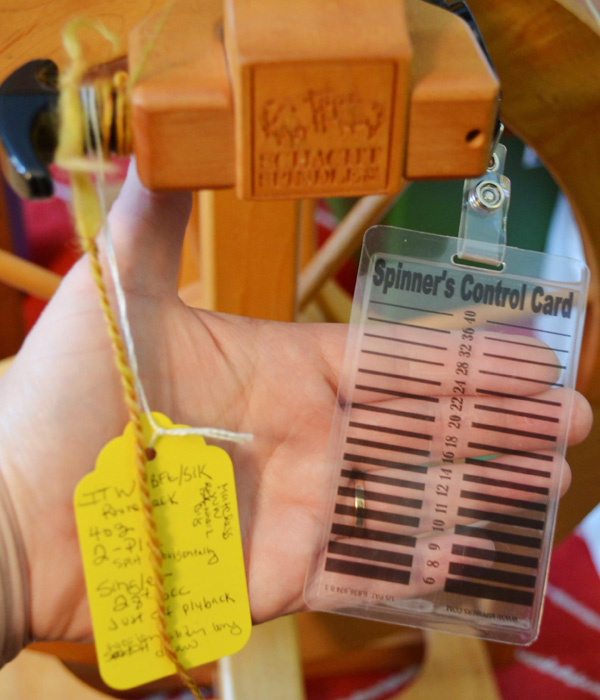 |
Hanging on my wheel, a yarn sample, my fact tag and my Spinner's Control Card
|
I wrap yarn samples on an index card. I wrap my unfinished samples around the card; I find they untwist otherwise. I use a hole punch and hang finished yarn samples off of the card.
After I spin:
I make sure all of the samples are clearly marked; sometimes I even rewrite my notes. There are days I can't read my own handwriting. When I have multiple samples for the same project, I make doubly sure to mark the one I end up using in some special way with a star, a check mark or all caps: I USED THIS ONE. I won't recognize it otherwise. Even 1 week later, the samples start to look the same.
 |
Spinning paper work
|
Storing it all:
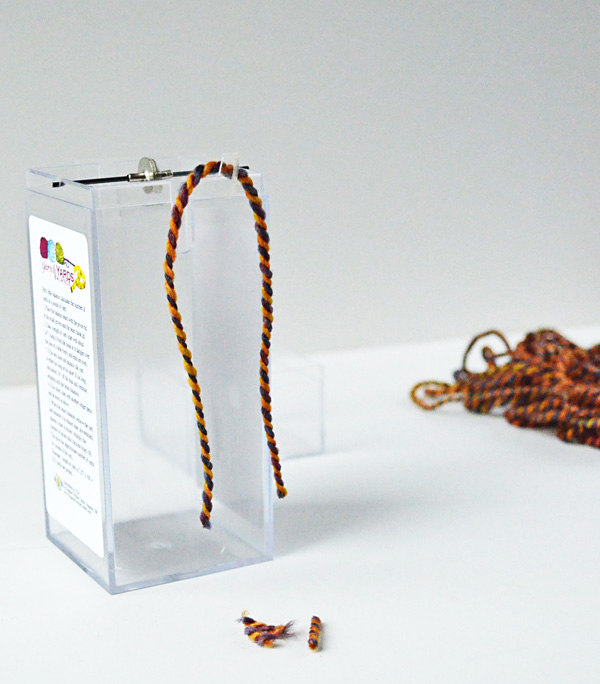
I have two ways that I store my samples depending on the size and number. Either in a ziptop plastic bag or a box.
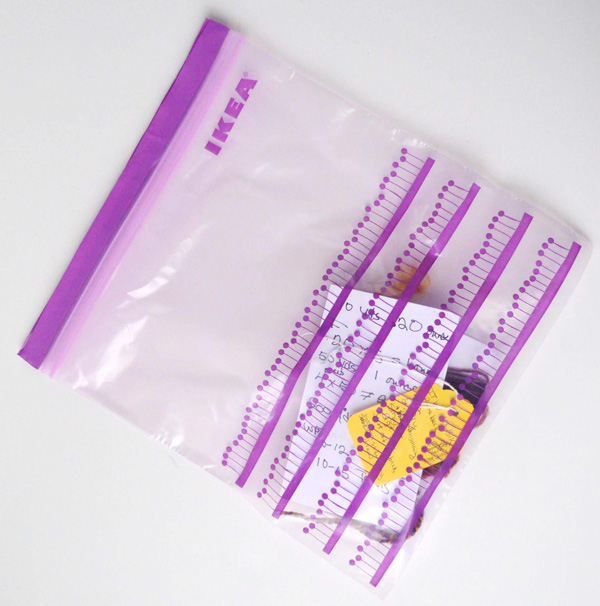 |
Ziptop bag from Ikea. I like them because they are pretty
|
Ziptop bags are quick, easy and cheap. I have them in multiple sizes and often store individual sample sets from a project that had multiple samples in smaller bags then put them all together in a bigger bag.
I have recently fallen in love with using mailing boxes for storing samples. They are great for projects that have a ton of samples or samples that can get really tangled in a bag like very fine yarns, silk or super fuzzy yarn. The boxes sit happily stacked on a shelf, in the corner or under the couch and I can write the contents right on the outside of the box. Sigh.
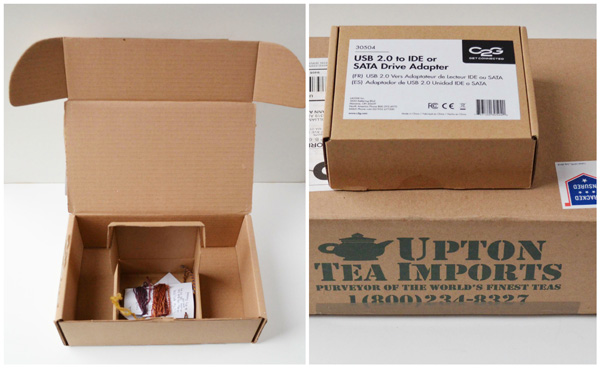 |
Mailer boxes, my new storage love
|
I used to be a never-measure spinner and my yarn always seemed to get lost. Since I took the time to learn how and when to measure (and figured out the measuring short cuts) I feel like I know my yarn better and I can almost always take my yarn exactly where I want it to go.
|