|
|
|
SIZE |
|
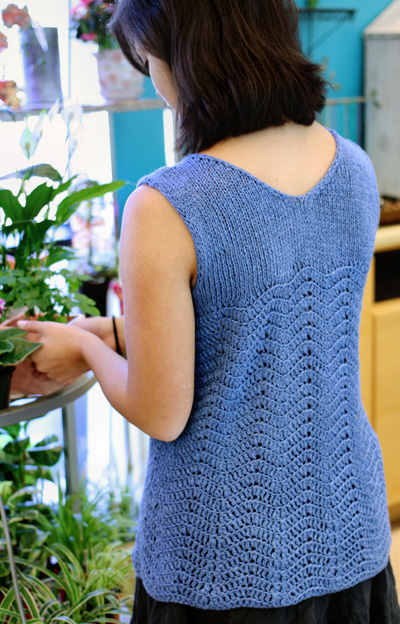
FINISHED MEASUREMENTS Note: Choose a size with up to 2 inches of positive ease. There is some flexibility in blocking, so you can block it a little larger than the measurements if you need. |
|
MATERIALS Notions |
|
GAUGE |
Knitted gauge: 18 sts & 24 rows = 4 inches in stockinette stitch |
|
PATTERN NOTES |
|
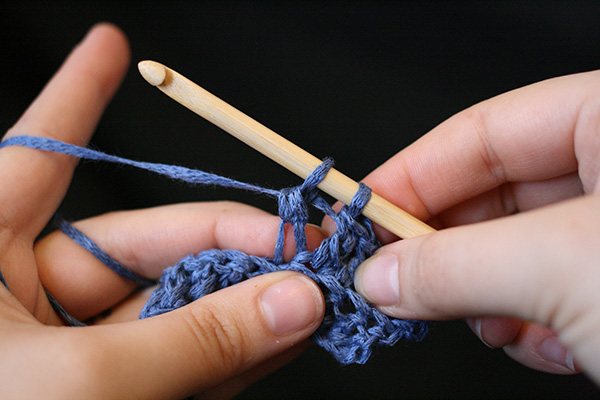
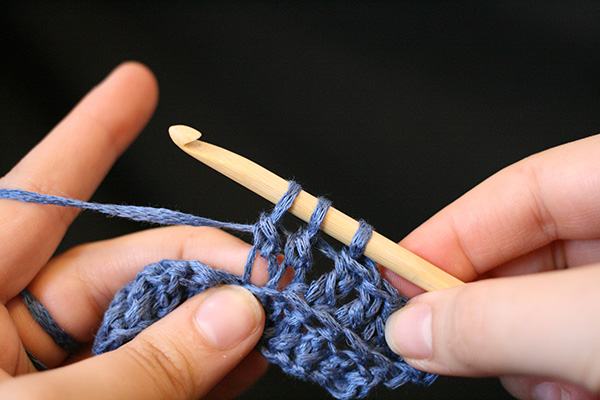
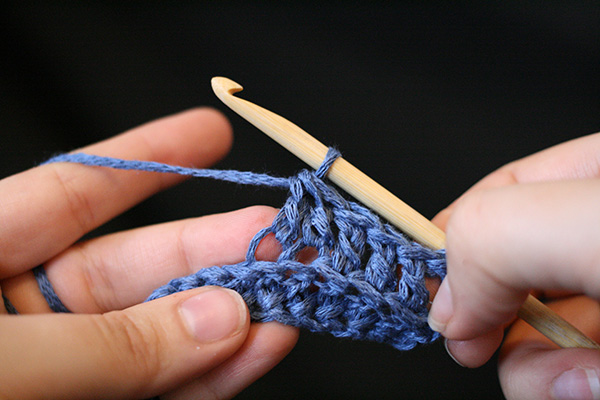
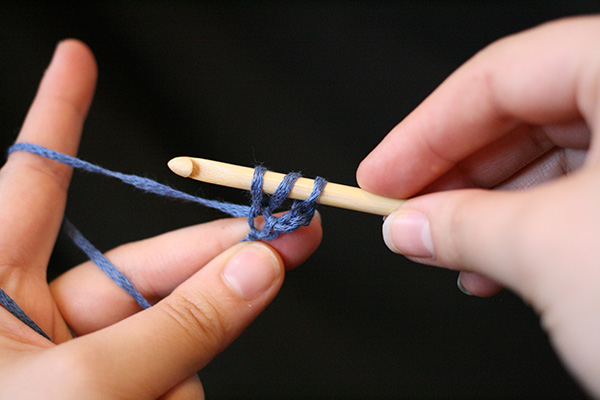
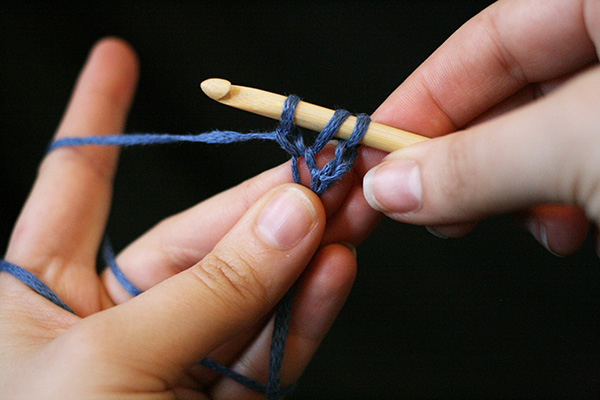
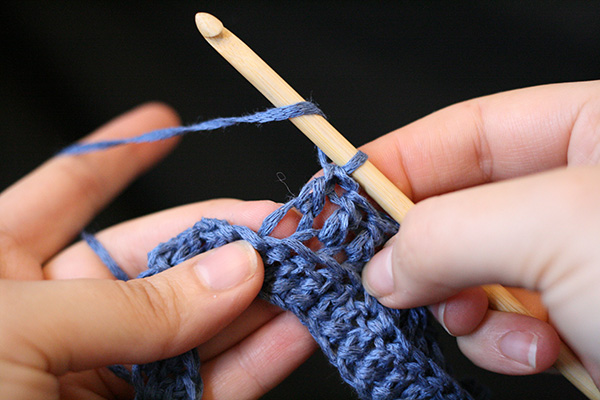
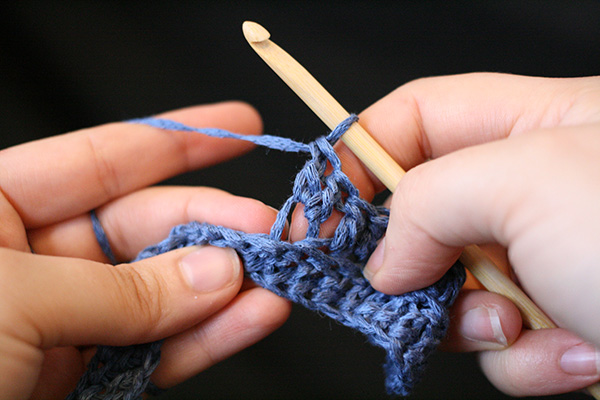
Ripple Stitch: Working only into the back loop of the previous round, ch3, dc in same st as ch3, 3dc, dc2tog twice, 3dc, 2dc in same st, (2dc in same st, 3dc, dc2tog twice, 3dc, 2dc in same st) to end, sl to join round. Instructions for grafting with Kitchener stitch can be found here: |
|
DIRECTIONS 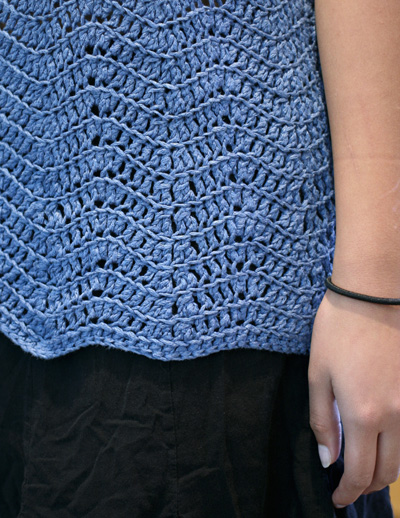
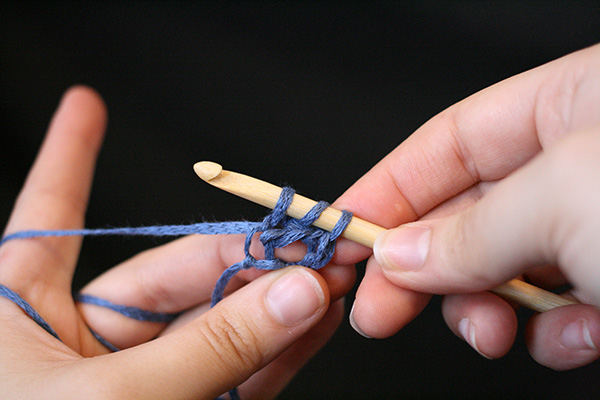
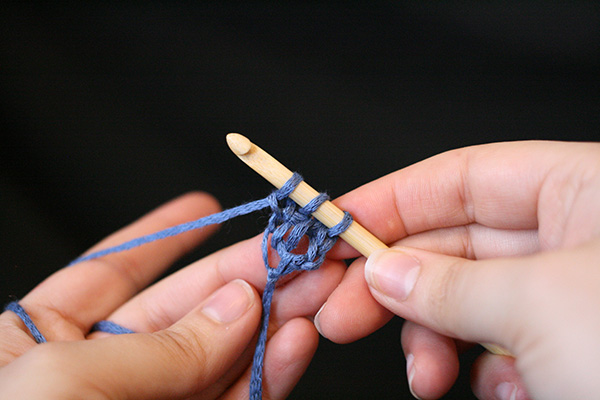
With crochet hook, using the Foundation Double Crochet (fdc) (see article), work 120[144, 168, 192, 216, 240, 264] dc, then sl to join in the round, being careful not to twist the edge. Work 23[24, 25, 26, 27, 28, 29] rounds of Ripple Stitch. Do not fasten off. Upper Body Rnd 1: Knit. Split front & back Front/Back are worked flat and worked the same. You can place the first half of the round on a holder while you work the back half first. Turn your work ready to start a WS row. Row 1 [WS]: Sl2 wyif, p to end. 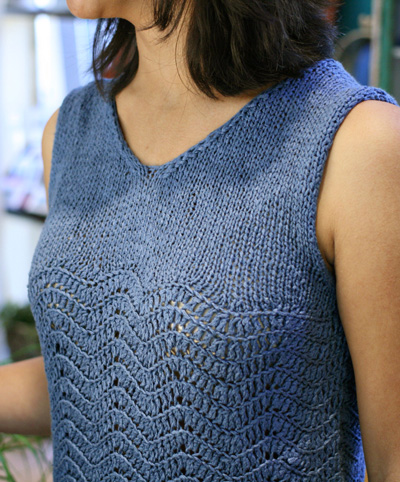 XS, S sizes only: All sizes: Proceed to Neck Shaping. Neck Shaping Note: From this point your fronts will be worked separately with two balls of yarn. You can work on them at the same time on the same needle. 26[29, 33, -, -, -, -] sts for each side. L, 1X, 2X, 3X sizes only:
 Note: From this point your fronts will be worked separately with two balls of yarn. You can work on them at the same time on the same needle. -[-, -, 37, 42, 47, 52] sts for each side. Row 3 [RS]: Sl2 wyib, ssk, k to last 4 sts before marker k2tog, k2. SWITCH TO THE OTHER SIDE & YARN. Sl2 wyib, ssk, k to last 4 sts, k2tog, k2. 2 sts decreased each side. 1X size only: All sizes: Repeat these last 2 rows 13[13, 16, 16, 17, 21, 24] more times. 12[15, 16, 18, 20, 23, 25] sts remain for each side. Place shoulder stitches on holder or spare needle and place the other half of body stitches on the needle. Attach yarn at armhole edge ready to start a WS row and repeat Front/Back for second half of stitches. |
|
FINISHING |
| ABOUT THE DESIGNER |
 Amy and Miriam both have patterns on ravelry.com. |
| Pattern & images © 2015 Amy O'Neill Houck + Miriam Felton. Contact Miriam |
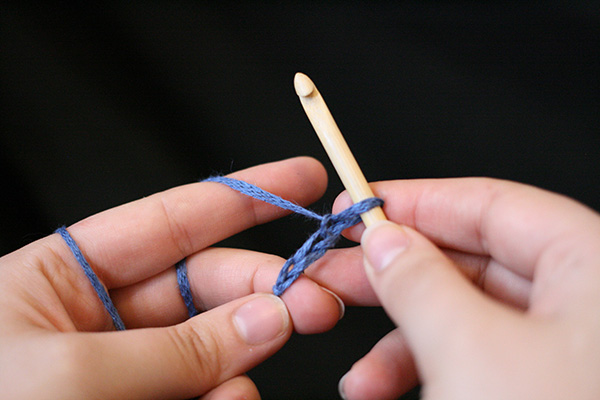
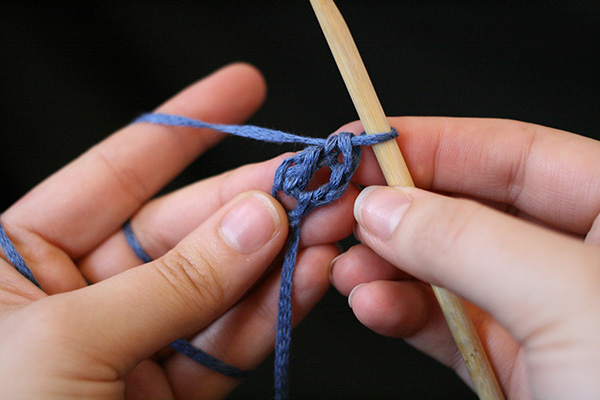
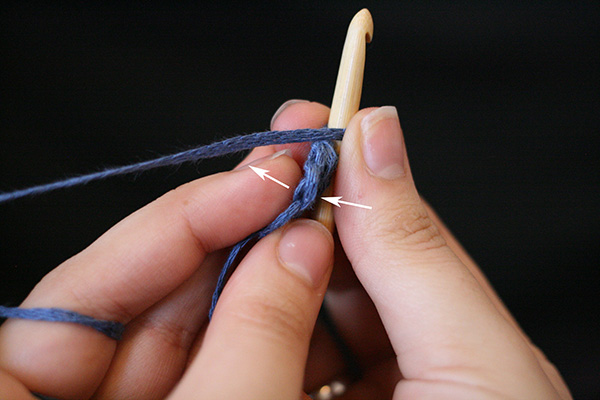
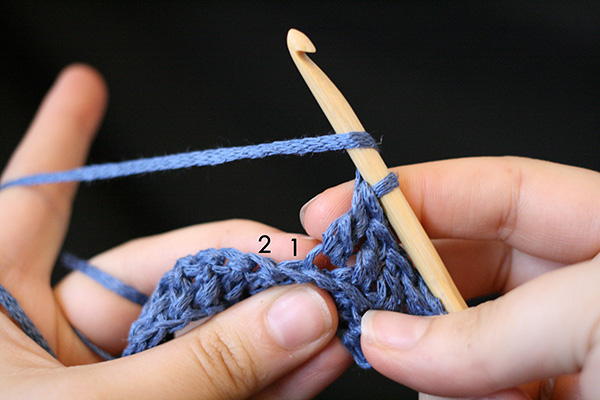 2dctog: The decrease will work these two stitches together.