|
|
|
|
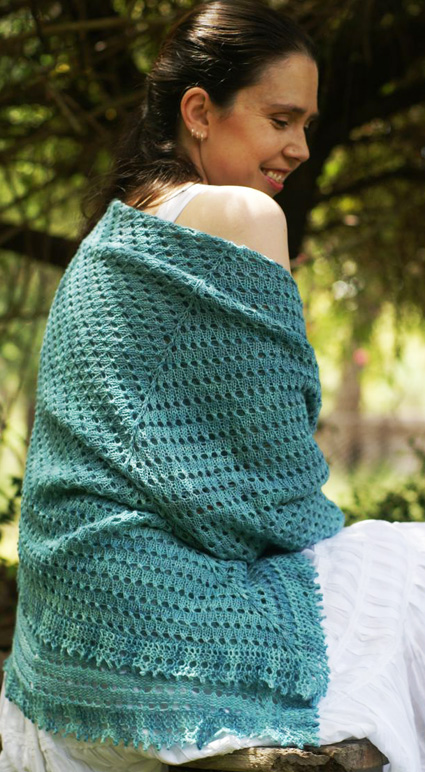
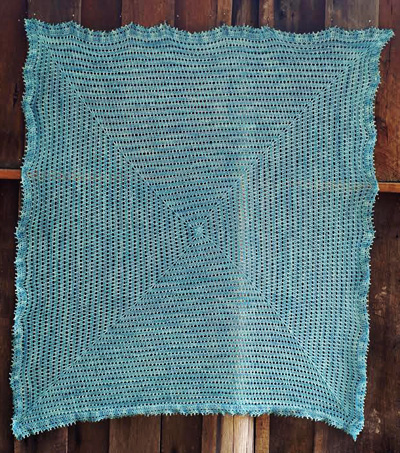
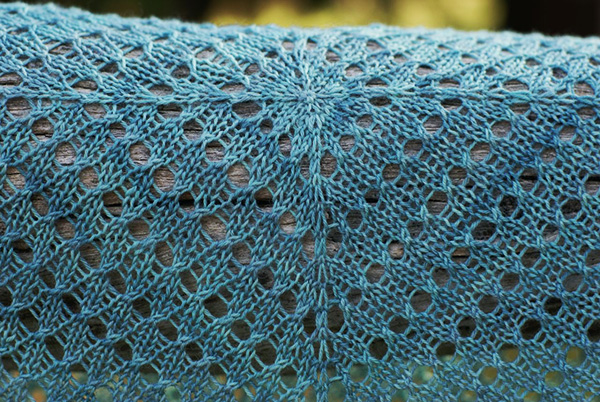
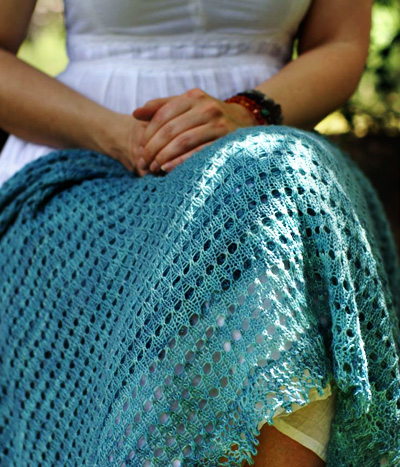
When I finished knitting my first Pi Shawl by Elizabeth Zimmermann I never believed Glenna C. that I would knit another. After all there are so many gorgeous patterns to knit. All this changed the moment I blocked it. I knew I not only had to knit another one, which I quickly procured the yarn for, but that I also wanted a square version and it had to be in Miss Babs Katahdin. I also knew I needed to retain what I loved about the Pi Shawl variation: the mindless stockinette and the simple eyelet detail. I set about sketching, working out what to do, what color to knit it in and how big it needed to be (answer: very). I adore huge shawl projects where I can just sit and knit until as much of the skein is used as possible, so I also knew I wanted to use as much of the huge 400g skein of Katahdin as I could. With everything worked out I set about knitting it and once it was blocked it was huge and exactly as I had hoped; a square version of the Pi Shawl. While no longer a true Pi Shawl, Peppermint Bay pays homage to Elizabeth Zimmermann and her much loved Pi Shawl. While this pattern is written to use a light fingering weight yarn, any weight can be used (finished size and yardage will vary) and knitted in a heavier-weight yarn, it would make a fantastic blanket to snuggle beneath. |
||
|
|
||
|
SIZE |
|
|
FINISHED MEASUREMENTS Finished size depends on gauge, and can be easily customized by working more or fewer body repeats. |
|
MATERIALS Notions |
| GAUGE |
20 sts/30.5 rows = 4 inches in stockinette stitch Note: While not critical, a different gauge will change the size of the shawl and the amount of yarn required. Make sure you get a fabric you like by swatching and wet blocking. |
|
PATTERN NOTES |
|
 EP (Edge picot): CO 2 sts using the knitted CO method, k2tog tbl, k1 tbl; 2 sts on right needle -- lift the rightmost over the leftmost (the one closest to the tip) and drop off needle. Emily Ocker's Circular Beginning Short Rows Slip & pull: Slip stitch purlwise with yarn in front, then with the yarn in front (as if for a yarnover), knit the next stitch. This results in a double stitch (ds), the slipped stitch with the yarnover. These double stitches are worked together on the following rows, indicated as k2tog-ds. On Yarn Substitutions If you are using a different weight or amount of yarn or wish to use every inch/cm of what you have weigh your yarn and write the weight down before beginning. This project uses a provisional cast on. Use your preferred provisional cast on technique; directions for one technique may be found here. This pattern uses Kitchener stitch to finish the edging of the shawl. Directions can be found here. |
|
|
DIRECTIONS 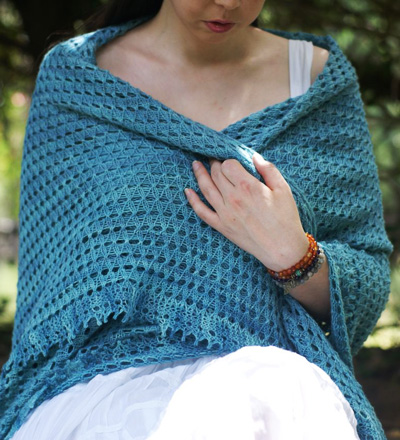
Using your crochet hook & Emily Ocker's Circular Beginning (or your favorite circular CO) CO 8 stitches. If you're not already, set up your stitches on your favorite small-circumference method and note or mark start of round. Body Round 1: Knit. Note: if you're using the yarn called for, working at the gauge called for, there should be approximately 17% of your original total weight remaining. Edging Turn shawl so WS is facing and using project yarn knit across those 6 new sts. Straight Edge 1 Note: If you've worked more or less repeats of the body than specified you may find yourself ending on a row 4 instead. If this is the case, work corner 2.
 Corner 1
 Straight Edge 2 Note: If you've worked more or less repeats of the body than specified you may find yourself ending on a Row 2 instead. If this is the case, work Corner 1. Work Corner 2. Corner 2 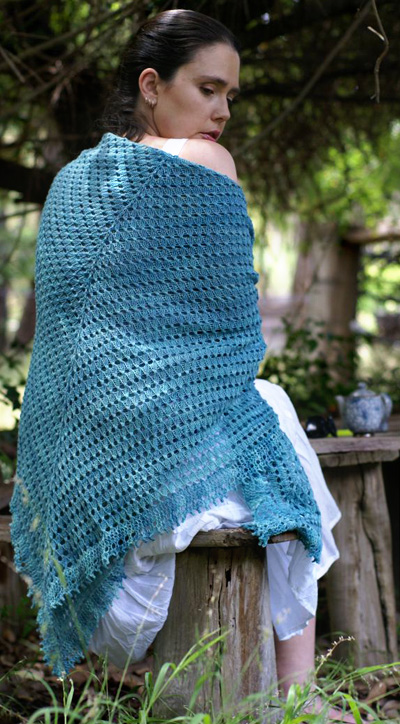 Row 15 [RS]: K2tog-ds 5 times, k3tog (last ds with corner edge st) drop the first two stitches worked in the k3tog off left needle but leave the third stitch/original corner stitch on the left needle as you will need to work into this once more. Turn. Note: When working the EP on this row you will cast on a stitch by knitting into a ds. Make sure you cast on this first stitch by knitting through both loops of the ds at once. Row 20 [WS]: Slip & pull, k1. Work Straight Edge 1, Corner 1, Straight Edge 2 and Rows 1 to 29 of Corner 2 once more. Cut yarn leaving a tail approximately 8 in long. With WS facing, use Kitchener stitch to graft the two ends together. |
|
FINISHING |
| ABOUT THE DESIGNER |
|
|
|
Pattern & images © 2015 Mitenae. Contact Mitenae |