|
|
|
|
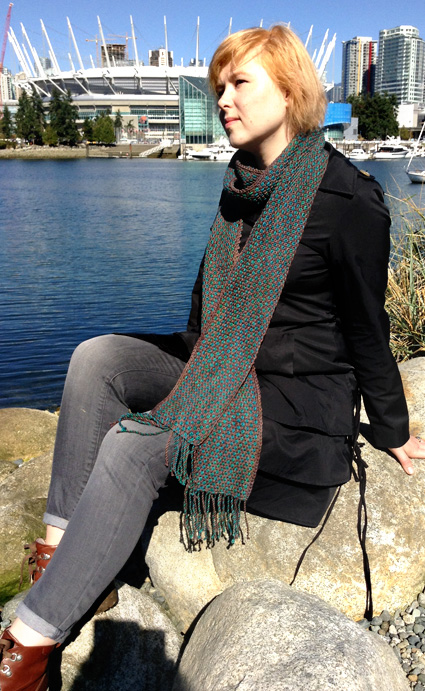
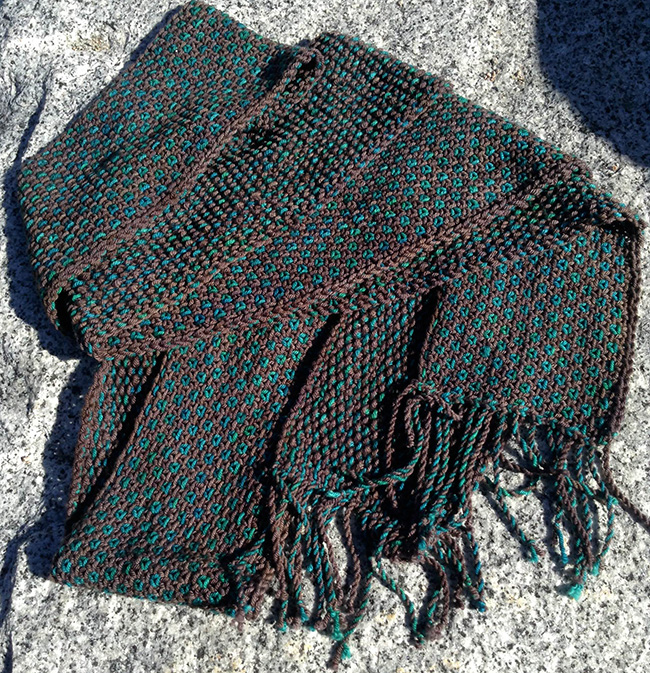
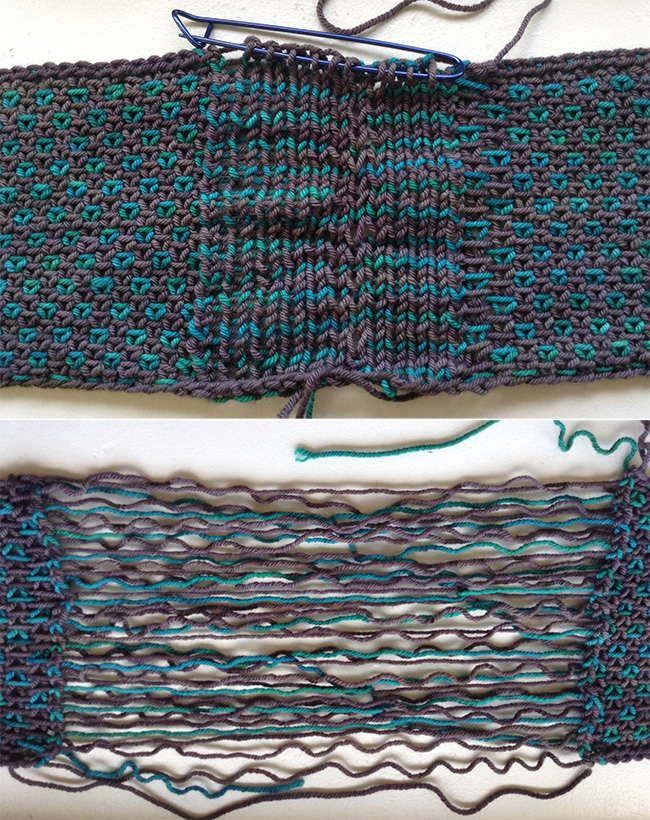
Hexadot is my take on a linen stitch scarf. While working a linen stitch bag in variegated yarn, I noticed that occasionally the colors lined up just right to make a little hexagon that looks like a dot. I do love a puzzle and some investigating led to the discovery that linen stitch makes a polka dot pattern when striped correctly. Most lengthwise-knit self-fringing scarves that I have seen call for you to leave a length of yarn at the start of the row and again at the end of the row, then cut the yarn and go back to the start. I didn’t really like the idea of having the fringe hanging around to get tangled in zippers or tempt kitties while I knit, so I chose instead to add a small stockinette panel and work the scarf in the round. The stitches in this panel are dropped and cut to create the fringe. As a bonus, I didn’t need to measure the lengths of yarn to ensure an even fringe – the dropped stitches are the same length and need minimal tidying up. Because the yarn changes occur in the middle of the stockinette fringe panel which is eventually dropped, no extra care needs to be taken to keep the yarn changes tidy. This actually makes Hexadot even easier than a lot of other striping patterns, and a great introduction to colorwork. |
||
|
|
||
|
SIZE |
|
|
FINISHED MEASUREMENTS |
|
MATERIALS Notions |
|
GAUGE |
|
PATTERN NOTES |
|
Yarn changes occur in a section of the scarf that eventually becomes fringe, so you don’t need to be overly tidy or make the yarn changes presentable. I just leave both colors attached and use the one I need. Long-tail cast on may be easier to work if you pull yarn from the extra ball as your tail, instead of trying to guess at how long a tail to pull. |
|
DIRECTIONS 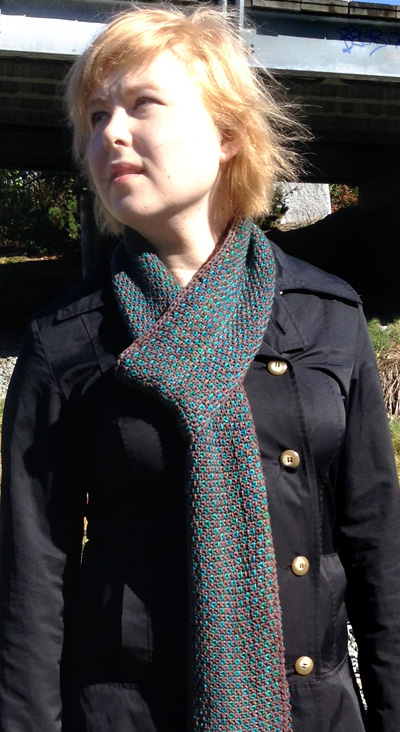
Join CC. Bind off: With MC, k5, remove marker. BO all stitches to next marker. Remove marker. BO 1 stitch. Cut a 4-inch tail and pull through last bound-off stitch. Slip 5 stitches, remove marker. |
|
|
FINISHING |
| ABOUT THE DESIGNER |
|
|
|
Pattern & images © 2015 Leslie-Anne Brook-Roberge. Contact Leslie-Anne |