|
|
 |
Riff: (in popular music and jazz) a short repeated phrase, frequently
played over changing chords or harmonies. Some people get bits of songs stuck in their head. I’m
susceptible to stitch patterns. After encountering twisted
stitches in another pattern I couldn’t stop thinking
of ways in which to employ them.
|
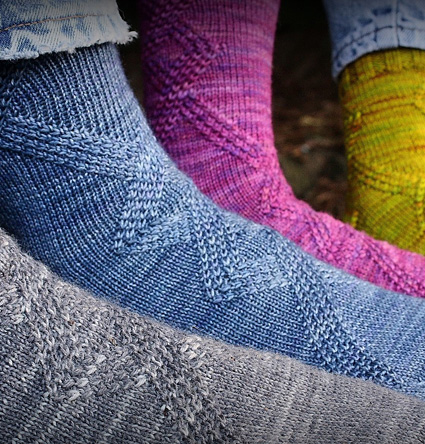
The construction of these socks is Cat Bordhi inspired and has a gentle rise from the toes through the arch, ensuring a comfortable fit. The pattern, which begins on the foot, is echoed on the heel. The front and back meet and repeat the pattern on the sides, flowing seamlessly into the ribbing. These socks are offered in 4 sizes, enough to fit the whole family! |
|
|
SIZE |
 
|
|
FINISHED MEASUREMENTS |
|
MATERIALS Notions |
|
PATTERN NOTES |
|
LT - Left twist: knit second stitch on left needle
tbl, leave stitch on needle, then knit the first stitch. Slip
both sts off the left needle. Instructions for Judy’s Magic Cast On can be found here. Instructions for Jeny’s Surprisingly Stretchy Bind-off can be found here. 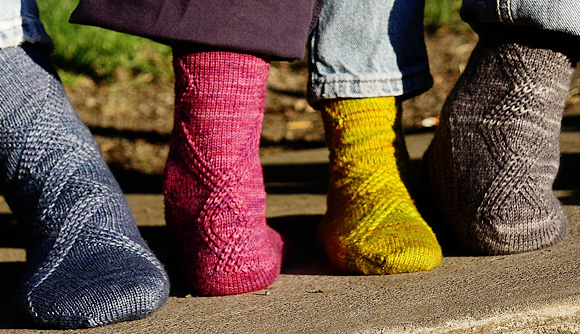
|
The charts for this pattern are very large. Each fits on a letter-sized page. Click the chart name below and print the resulting page. foot SMALL • foot MEDIUM • foot LARGE • foot XL leg SMALL • leg MEDIUM • leg LARGE • leg XL note: all leg charts updated Oct 25, 2010 |
|
DIRECTIONS 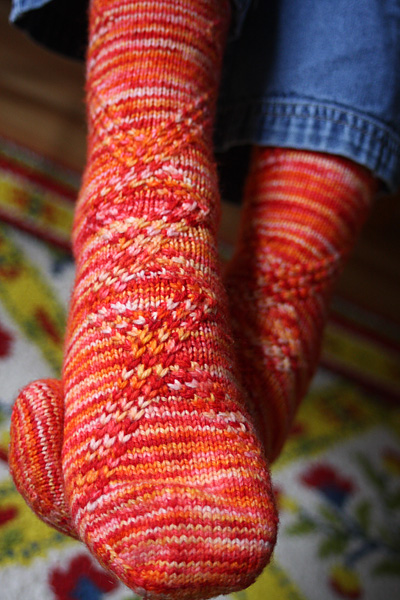
Using your favorite toe-up cast on method (mine is Judy’s magic cast on), cast on 20[24, 28, 32] sts. Distribute stitches as you prefer, and mark start and center of round with stitch markers. Throughout this pattern we will refer to the first half of the stitches as the instep stitches and the second half as the sole stitches. Toe increases: Knit 2 more rounds even. Foot: Work until sock measures 3[4.65, 5.25, 5.85] inches shorter than the total length of your foot from toe to back of heel, ending after an even-numbered chart round. (.65 inch = five-eighths of an inch, .85 inch = seven-eighths of an inch.) Gusset: Repeat Gusset rounds 1-3 11[13, 15,
17] more times. Make a note of which Chart row you’ve just worked. The 52[60, 68, 76] sole stitches will be worked to form the heel. 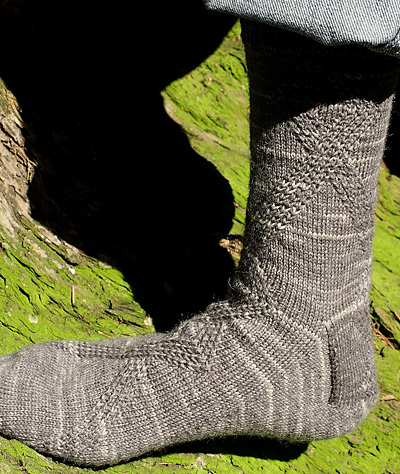 All work in this section will occur exclusively on the 52[60, 68, 76] sole stitches. Row 1 [RS]: Knit 37[43, 49, 55] stitches, w&t. 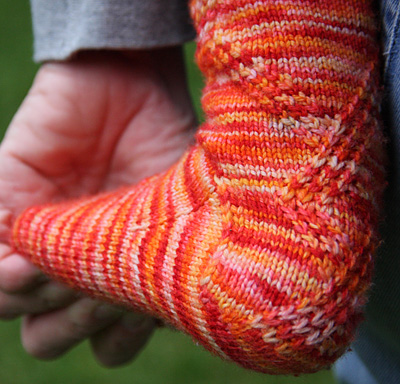 Row 15 [RS]: Knit -[13, 17, 21] stitches, w&t. Size Medium only: Proceed to Heel flap. Row 17 [RS]: Knit -[-, 15, 19] stitches, w&t. Size Large only: Proceed to Heel flap. Row 19 [RS]: Knit -[-, -, 17] stitches, w&t. Heel flap: Row 1 [RS]: K10[12, 14, 14], pick up and k7[8,
9, 11] wrapped stitches together with their wraps, ssk.
Turn. You should now have 26[30, 34, 38] sts in the center between the gaps caused by the ssk and p2tog and 12[14, 16, 18] sts on each side of the center stitches. (Not including the instep stitches.) Now count down 24[28, 32, 36] rows in the Foot Chart from where you left off at the end of the Gusset. This is where the pattern on the heel flap will begin. Heel flap row 1 [RS]: Sl1, work 24[28, 32, 36]
stitches in pattern, ssk. Repeat the last two rows 11[13, 15, 17] times. 54 [62, 70, 78] sts total. Leg setup round: Sl1, k24[28, 32, 36] stitches in pattern, ssk, knit across instep sts. K2tog, k to end of sole sts. 52[60, 68, 76] sts total. Lower Leg: Continue in pattern as established until row 34[38, 46, 50] of the Foot Chart is complete. Transition rounds: Work Heel to-Leg Transition Chart across round. Continue in pattern as established until 16[20, 20, 24] rows of the Heel-to-Leg Transition Chart are complete, noting that the round 16[20, 20, 24] ends a stitch short of the current end of round. Continue working the chart. Through the final rounds of this chart, the start of round will shift to accommodate the twists. Move the marker back a stitch as you go. When the chart is complete, the final round takes you partway across, to the new start of round position. Replace the start of round marker at this point. 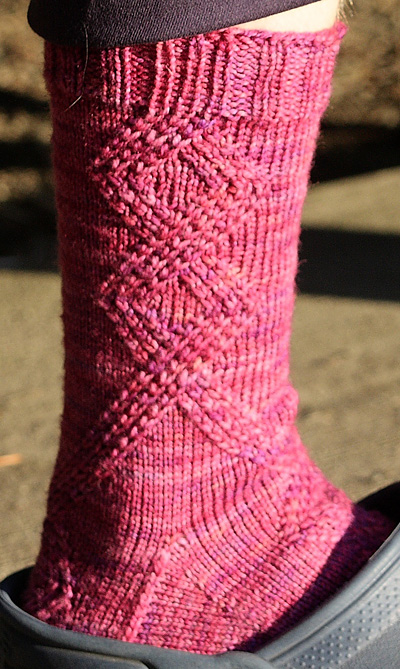 Upper leg round: Work Upper Leg Chart twice across round, ensuring you are working from new start of round at center of heel/back leg. Continue until a full repeat is complete. If you wish to make the sock taller, work another full repeat of the chart. Cuff: Ribbing Round, Size S: [K3, p2, k2, p2, [k1, p1] twice, k1, [p2, k2] twice, p2]. Repeat once to end of round. Ribbing Round, size M: [[K2, p2] 3x, k1, [p1, k1] twice, [p2, k2] three times, p1]. Repeat once to end of round. Ribbing Round, size L: [K3, [p2, k2] twice, p2, [k1, p1] three times, k1, [p2, k2] three times, p2]. Repeat once to end of round. Ribbing Round, size XL: [P2, k2, p2, k3, p2, k2, p2, [k1, p1] three times, k1, [p2, k2] four times]. Repeat once to end of round. Repeat Ribbing Round until ribbing measures 1 inch. |
|
FINISHING |
| ABOUT THE DESIGNER |
|
|
|
Pattern & images © 2010 Lise Brackbill. Contact Lise |


