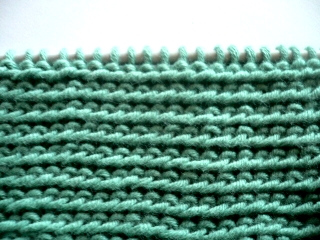
Twined Knitting
Twined knitting is an traditional
Scandanavian knitting technique dating back at
least to the 17th century in Sweden.
You use two strands of yarn -- knitting each strand
is alternately and twisting them between each
stitch. It's called tvåändsstickning
in Swedish and tvebandsstrikking in Norwegian
-- both meaning "two-end knitting"--
because traditionally the two ends of one ball
of yarn are used. The resulting fabric is firmer
and denser than regular stockingette stitch and
makes for wonderfully warm knits -- it also has
less of a tendency to curl. Some beautiful, subtle
patterns can be made in twined knitting using
purled stitches - either purling alternately with
both strands, or knitting with one strand and
purling the other. Most patterns incorporate some
of these decorative borders where one would normally
use ribbing -- cuffs of mittens and gloves or
the tops of socks. Twined knitting is usually
knitted in the round and with the yarn held in
the right hand and, in contrast to regular Scandanavian
knitting, is “thrown” English style.
The first thing to do
when working twined knitting is to select
and prepare your yarn. Traditionally, wool
that is S-spun
and Z-plied yarns are used, though unless
you spin yourself such yarn might be difficult
to come by. To prepare the yarn for knitting
first be sure it’s a center pull ball, then
find both ends. Pull the two strands out
a good length before beginning to knit.
There are several decorative
ways of casting on for twined knitting.
Some use a second color and create a braided
effect in the cast on row. The simpliest
way, however, is to cast on as you normally
would then join a second strand when you
start knitting.
Note: In the following images
I’ll be using two different colors of yarn in
order to demonstrate the technique more clearly.
Normally you'll be working with two ends of the
same ball of yarn.
Join in order to work
in the round, being sure the stitches are
not twisted.
Then knit one stitch as you
normally would...
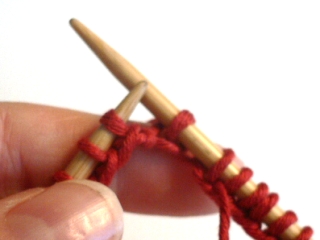
Then add the second strand of
yarn, and knit the next stitch...
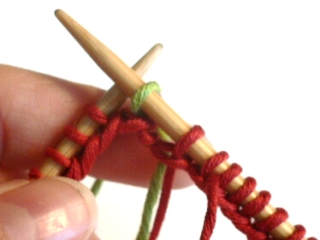
From this point on, for
each stitch you’ll do the following:
Insert your index finger between
the two strands of yarn, grab the second strand
(the one you did not use for the last stitch)
bringing it over the first strand...
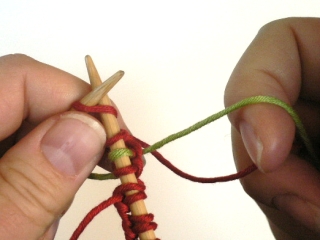
and use it to knit the next
stitch...
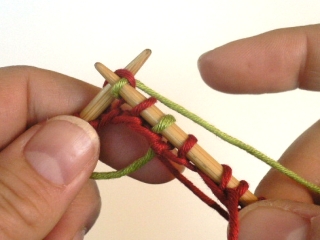
After a few stitches you’ll
see that the wrong side consisists of stitches
with the yarn stranded between each stitch.
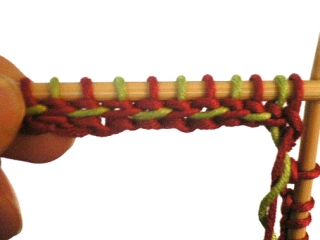
The resulting fabric is thicker,
firmer and less elastic than regular knitting
but also warmer and more wind-resistant -- perfect
for mittens, caps, slippers and outerwear, though
it does take a considerably longer time to work.
As for appearance - on the knit side, the stitches
look mostly like normal knit stitches -- albeit
a bit more elongated.
Shown here in wool yarn...
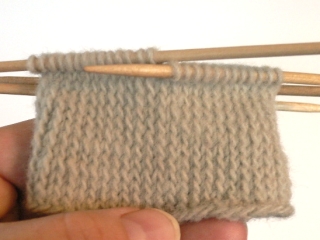
And in a cotton yarn...
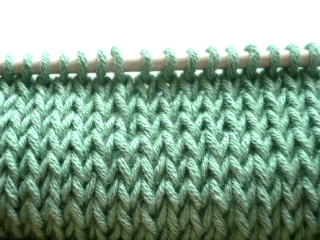
On the purl side however,
you can see the twining clearly.
With wool yarn...
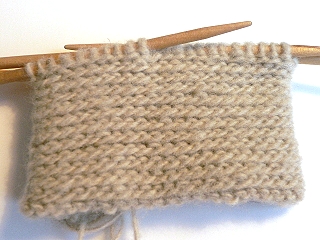
and with cotton...
