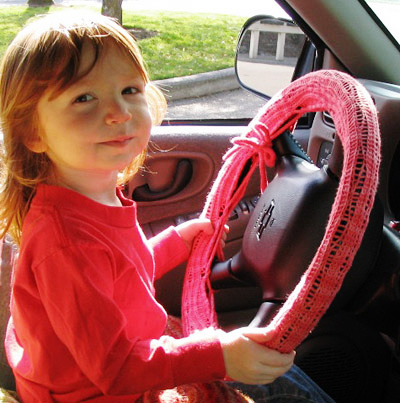
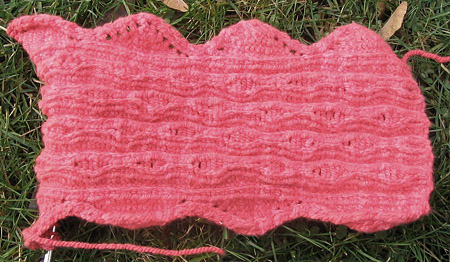
Steering Wheel Cover
CO 24 sts.
Set-up Row [RS]: K3, [p2, k1, yo, k1, p2,
k2] twice, p2, k3. 26 sts.
Increase
rows:
Row 1 [WS]: Sl1 p1, yo, p1, [k2,
p2, k2, p3] twice, k2, p1, yo, p2. 28 sts.
Row 2 [RS]: Sl1, k1, p1, k1, [p2,
k3, p2, k2] twice, p2, k1, p1, k2.
Row 3 [WS]: Sl1, p1, yo, k1, p1,
[k2, p2, k2, p3] twice, k2, p1, k1, yo, p2.
30 sts.
Row 4 [RS]: Sl1, k1, p2, k1, [p2,
k3, p2, k2] twice, p2, k1, p2, k2.
Row 5 [WS]: Sl1, p1, yo, k2, p1,
[k2, p2, k2, p3] twice, k2, p1, k2, yo, p2.
Row 6 [RS]: Sl1, k1, p3, k1, [p2,
k1, drop next st off needle, allowing it to
ladder down to the yo six rows below, k1,
p2, k1, yo, k1] twice, p2, k1, p3, k2.
Row 7 [WS]: Sl1 p1, yo, k3, p1, [k2,
p3, k2, p2] twice, k2, p1, k3, yo, p2. 34
sts.
Row 8 [RS]: Sl1, k1, p4, k1, [p2,
k2, p2, k3] twice, p2, k1, p4, k2.
Row 9 [WS]: Sl1, p1, yo, k4, p1,
[k2, p3, k2, p2] twice, k2, p1, k4, yo, p2.
36 sts.
Row 10 [RS]: Sl1, k1, p5, k1, [p2,
k2, p2, k3] twice, p2, k1, p5, k2.
Row 11 [WS]: Sl1, p1, yo, k5, p1,
[k2, p3, k2, p2] twice, k2, p1, k5, yo, p2.
38 sts.
Row 12 [RS]: Sl1, k1, p6, k1, [p2,
k1, yo, k1, p2, k1, drop next st off needle,
allowing it to ladder down to the yo six rows
below, k1] twice, p2, k1, p6, k2.
Decrease Rows:
Row 13 [WS]: Sl1 p2tog, yo, k2tog,
k3, p1, [k2, p2, k2, p3] twice, k2, p1, k3,
ssk, yo, ssp tbl, p1. 36 sts.
Row 14 [RS]: Sl1, k1, p5, k1, [p2,
k3, p2, k2] twice, p2, k1, p5, k2.
Row 15 [WS]: Sl1 p2tog, yo, k2tog,
k2, p1, [k2, p2, k2, p3] twice, k2, p1, k2,
ssk, yo, ssp tbl, p1. 34 sts.
Row 16 [RS]: Sl1, k1, p4, k1, [p2,
k3, p2, k2] twice, p2, k1, p4, k2.
Row 17 [WS]: Sl1 p2tog, yo, k2tog,
k1, p1 [k2, p2, k2, p3] twice, k2, p1, k1,
ssk, yo, ssp tbl, p1. 32 sts.
Row 18 [RS]: Sl1, k1, p3, k1, [p2,
k1, drop next st off needle, allowing it to
ladder down to the yo six rows below, k1,
p2, k1, yo, k1] twice, p2, k1, p3, k2.
Row 19 [WS]: Sl1 p2tog, yo, k2tog,
p1 [k2, p3, k2, p2] twice, k2, p1, ssk, yo,
ssp tbl, p1. 30 sts.
Row 20 [RS]: Sl1, k1, p2, k1, [p2,
k2, p2, k3] twice, p2, k1, p2, k2.
Row 21 [WS]: Sl1 p2tog, k1, p1, [k2,
p3, k2, p2] twice, k2, p1, k1, ssp tbl, p1.
28 sts.
Row 22 [RS]: Sl1, k1, p1, k1, [p2,
k2, p2, k3] twice, p2, k1, p1, k2.
Row 23 [WS]: Sl1 p2tog, p1, [k2,
p3, k2, p2] twice, k2, p1, ssp tbl, p1. 26
sts.
Row 24 [RS]: Sl1, k2, [p2, k1, yo,
k1, p2, k1, drop next st off needle, allowing
it to ladder down to the yo six rows below,
k1] twice, p2, k3.
Repeat these 24 rows until piece reaches desired
length, ending on Row 24. BO all sts loosely.
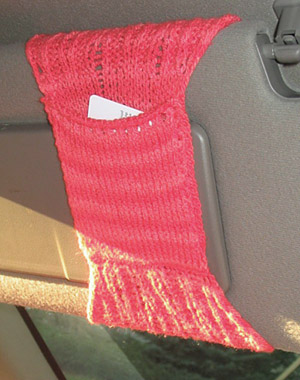
 Handy
Visor Pocket
Handy
Visor Pocket
CO 24 sts. Work in pattern as for Steering
Wheel Cover until 2 or 3 repeats of pattern
have been worked. Work should stretch about
two-thirds of the way around your visor. (Adjust
for your exact visor size!)
Work
these two rows:
Row 1 [WS]: Sl1, p2tog, p to end.
Row 2 [RS]: Sl1, k2tog, k to end.
(24 sts)
Work in stockinette stitch
until work is long enough to stretch around
your visor, ending with a RS row. This stockinette
st section forms the pocket back. Place sts
on a double-pointed needle.
Turn your work so the front
of the CO edge is facing you. Using a second
double pointed needle and the same working
yarn, pick up and k 24 sts along the CO edge.
Arrange your work so you have the two rows
of live stitches on two needles, parallel,
pointing right, as though you are about to
do a three needle bind off. Instead you will
be doing a Japanese Three Needle Bind Off,
leaving 24 workable stitches on your needle.
(Note: this procedure does
not involve the use of your yarn tail! You're
simply moving the back stitches through the
front stitches, never drawing new yarn through.)
Pocket
Front
Row 1 [RS]: Sl1, k2tog, k to end.
Row 2 [WS]: Sl1, p2tog, p to end.
Repeat these 2 rows once more.
Cont in stockinette st as set, slipping first
st of each row, until work is approx. 0.25
inch shorter than pocket back, ending with
a WS row.
Next Row [RS]: Sl1, [yo, k2tog] to last stitch,
k1.
P1 row.