


Inside Cat, a free knitting pattern from Knitty.com.
INTRODUCTION
Inside Cat
 by Anna Hrachovec

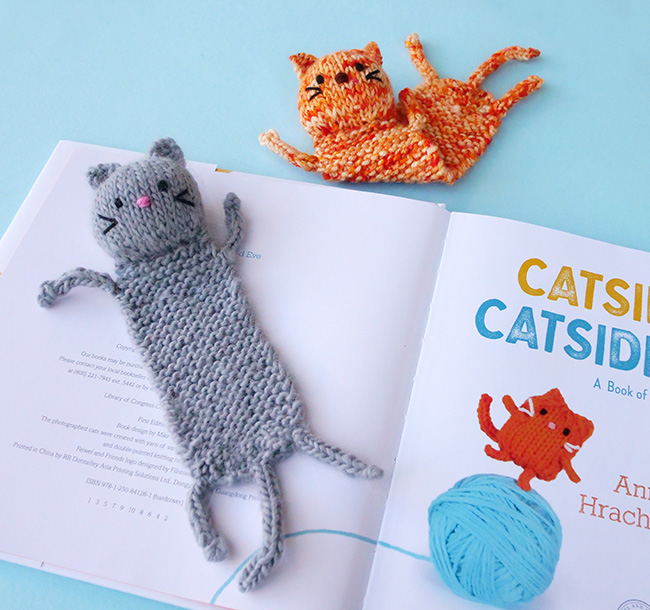
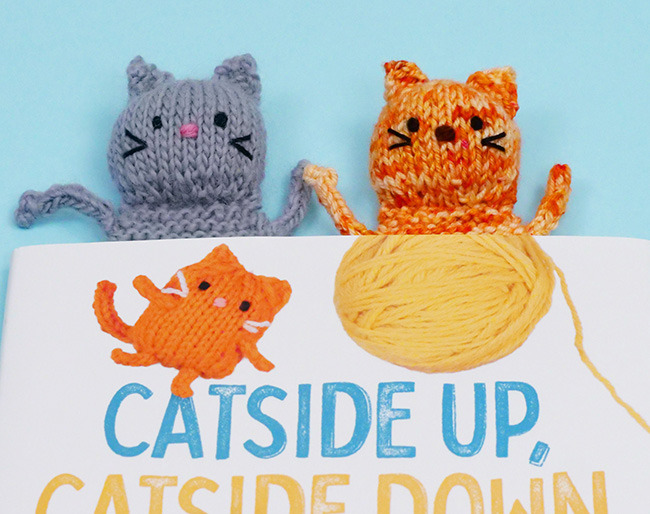
As any cat knows, getting cozy is more than a comfort — it's a whole lifestyle. For those of us who like to get cozy with a book, Inside Cat is a comfy companion who will affirm and support our cherished moments of literary bliss. Her primary job is to snuggle up between pages, but she also excels at snuggling up with readers.
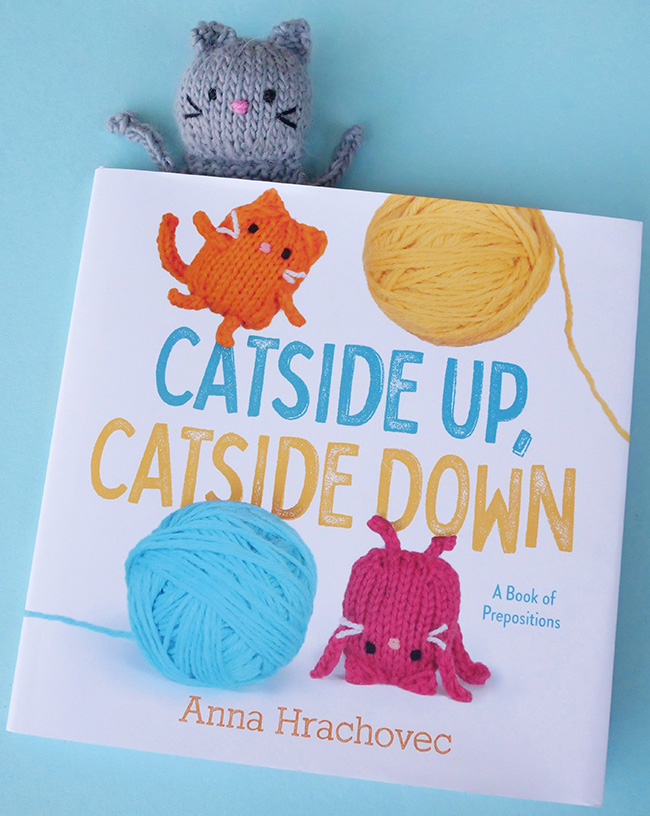
Inside Cat was inspired by my first children's book, Catside Up, Catside Down, which was published in September 2023. The book demonstrates prepositions with photos of knitted cats in all different (mostly cozy) positions. At 32 pages, it's hardly a book that requires a bookmark, but Inside Cat does not discriminate or judge what kind of book you stick her in! Plus, with her long, floppy body, she can illustrate quite a few prepositions herself.
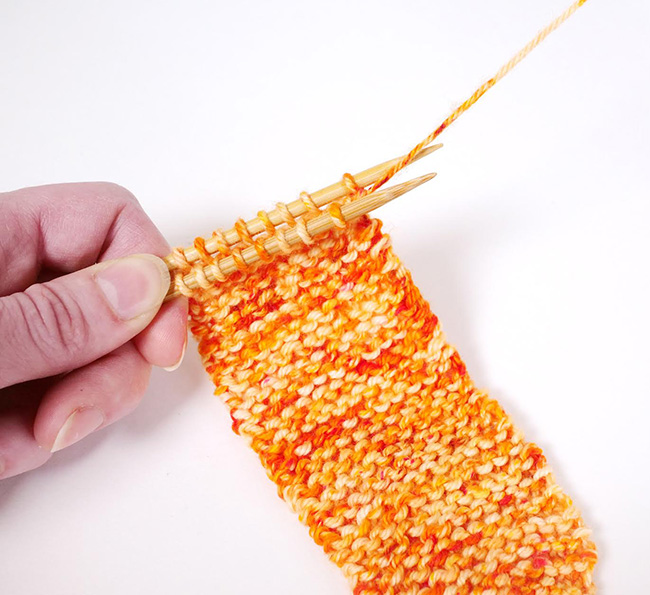
I designed Inside Cat to knit up with ease and minimal seaming. You'll switch from I-cord to flat knitting to circular knitting to create the body and head, then you'll attach I-cord limbs and triangle ears with just a few finishing stitches. The embroidery for the face is so simple, you could do it while balancing three cats in your lap.
 photos: Anna Hrachovec


SIZE
One
FINISHED MEASUREMENTS
At gauge given, piece measures
Width: 2.5 inches/6.5cm
Height: 8 inches/20.5cm (including tail)
MATERIALS
Yarn
Sample 1 (orange)
![]() [MC] Tosh Vintage [100% Superwash Merino Wool; 200 yd/182m per 115g skein]; color: GG Loves Speckles; 30 yards/27 meters
[MC] Tosh Vintage [100% Superwash Merino Wool; 200 yd/182m per 115g skein]; color: GG Loves Speckles; 30 yards/27 meters
Cascade 220 [100% Peruvian Highland Wool; 220 yd/200m per 100g skein];
![]() [CC1] Black; 1 yard/1 meter
[CC1] Black; 1 yard/1 meter
![]() [CC2] Cabernet; 1 yard/1 meter
[CC2] Cabernet; 1 yard/1 meter
![]() [CC3] Cascade Heritage [75% Superwash Merino Wool/25% Nylon; 437 yd/400m per 100g skein]; Real Black; 1 yard/1 meter
[CC3] Cascade Heritage [75% Superwash Merino Wool/25% Nylon; 437 yd/400m per 100g skein]; Real Black; 1 yard/1 meter
Sample 2 (gray)
![]() [MC] Cascade Eco Highland Duo [70% Baby Alpaca / 30% Merino Wool; 197 yd/180m per 100g skein]; color: Silver; 30 yards/27 meters
[MC] Cascade Eco Highland Duo [70% Baby Alpaca / 30% Merino Wool; 197 yd/180m per 100g skein]; color: Silver; 30 yards/27 meters
Cascade 220 [100% Peruvian Highland Wool; 220 yd/200m per 100g skein];
![]() [CC1] Black; 1 yard/1 meter
[CC1] Black; 1 yard/1 meter
![]() [CC2] Cotton Candy; 1 yard/1 meter
[CC2] Cotton Candy; 1 yard/1 meter
![]() [CC3] Cascade Heritage [75% Superwash Merino Wool/25% Nylon; 437 yd/400m per 100g skein]; Real Black; 1 yard/1 meter
[CC3] Cascade Heritage [75% Superwash Merino Wool/25% Nylon; 437 yd/400m per 100g skein]; Real Black; 1 yard/1 meter
Yarn Characteristics
![]() One sample shown uses a speckled superwash wool yarn, accompanied by solid worsted and fingering-weight yarns. Superwash is a good choice if you will be knitting for a child. Otherwise, yarn scraps of any material will also work great for this project!
One sample shown uses a speckled superwash wool yarn, accompanied by solid worsted and fingering-weight yarns. Superwash is a good choice if you will be knitting for a child. Otherwise, yarn scraps of any material will also work great for this project!
Recommended needle size
[always use a needle size that gives you the gauge listed below - every knitter's gauge is unique]
![]() US #5/3.75mm double-pointed needles for working flat and small circumference in the round
US #5/3.75mm double-pointed needles for working flat and small circumference in the round
(You could also use 2 circular needles or one longer circular needle and the magic loop method, but because of the small stitch counts, traditional DPNs are recommended.)
Notions
![]() stuffing (polyester fiberfill)
stuffing (polyester fiberfill)
![]() sharp yarn needle
sharp yarn needle
GAUGE
Note: Gauge isn't important for this project — instead, aim to make stitches tight enough so that stuffing won't show between them. This usually means choosing a needle that's 2-3 sizes smaller than normally recommended for the yarn you're using.
PATTERN NOTES
[Knitty's list of standard abbreviations and techniques can be found here.]
You'll need a small amount of stuffing for this project. If you don't have fiberfill on hand, yarn scraps can also work well for this purpose.
I used a worsted-weight yarn for the eye and nose embroidery, then a fingering-weight yarn for the thinner whiskers. But you could also split a piece of 4-ply worsted yarn for the whiskers.
DIRECTIONS

Body
Tail
With MC, cast on 3 stitches onto one DPN.
Knit 16 rows of I-cord, as follows
I-Cord: K3; return sts to start of needle without turning.
Torso
Next row, increase: K1, kfb, k1. 4 sts.
From here, you will work flat for the garter stitch body, turning after every row. Turn before Row 18.
Row 18: K1, (kfb) twice, k1. 6 sts.
Row 19: K1, (kfb) 4 times, k1. 10 sts.
Row 20: K1, kfb, k6, kfb, k1. 12 sts.
Rows 21-66: Knit 46 (or so) rows.
Row 67: K1, (k2tog) twice, k2, (k2tog) twice, k1. 8 sts.
Row 68: (Kfb) 8 times. 16 sts.
Head
Pick up two more DPNs, and slip the stitches purlwise onto them, alternating needles with each stitch, as follows: slip the first stitch onto the DPN in back, the second stitch on the DPN in front, etc.
Once you have slipped all of the stitches onto the two parallel needles, you will use a third DPN to work the stitches in a round. The first stitch in the round is directly across from the stitch with the working yarn attached; once you have worked across the first needle, turn both needles around to work the stitches on the needle in back. Once you've worked the first round, distribute the stitches across 3 DPNs.
Rnd 1: K1, (kfb) twice, k2, (kfb) twice, k2, kfb, k4, kfb, k1. 22 sts.
Rnd 2: Knit.
Rnd 3: K1, (kfb, k2) 4 times, kfb, k6, kfb, k1. 28 sts.
Rnds 4-11: Knit. (8 rounds)
Rnd 12: K1, k2tog, k10, k2tog, k2, k2tog, k6, k2tog, k1. 24 sts.
Rnd 13: Knit.
Rnd 14: (K2tog, k1) 8 times. 16 sts.
Stuff the piece, filling out the shape without over-stuffing. (You shouldn't be able to see stuffing between the stitches.)
Rnd 15: Knit.
Rnd 16: (K2tog) 8 times. 8 sts.
Cut the yarn, leaving a 6 inch/15 cm tail and draw it tightly through the stitches with a tapestry needle.
Weave in the loose ends.
Ear (make 2)
With MC, and leaving a tail of a few inches or centimeters for attaching, cast 5 stitches onto one needle to work flat.
Row 1: Purl.
Row 2: K2tog, k1, k2tog. 3 sts.
Row 3: Purl.
Row 4: K2tog, k1. 2 sts
Cut the yarn, leaving a 6 inch/15 cm tail and draw it through the stitches, from right to left, with a tapestry needle. Draw the yarn through the stitches again the same way (this will help make the point of the triangle more defined), then slip the stitches off the needle and pull the yarn tight. Weave in this end only.
Leg (make 4)
With MC, and leaving a tail of a few inches or centimeters for attaching, cast 3 stitches onto one DPN.
Knit 9 rows of I-cord as before.
Cut the yarn, leaving a 6 inch/15 cm tail and draw it through the stitches with a tapestry needle. Draw the yarn through the stitches again the same way four times more (this will bulk up the end of the I-cord for a paw-like shape), then slip the stitches off the needle and pull the yarn tight. Weave in this end only.
FINISHING
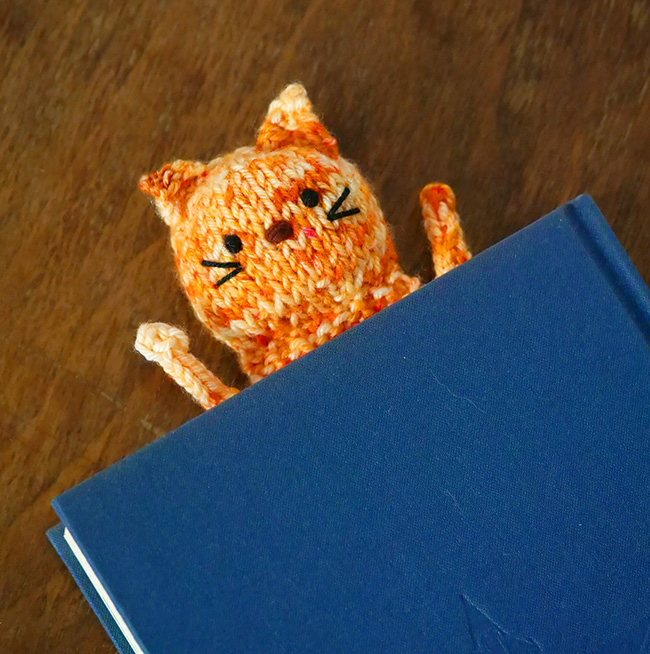
Embroidered features
Use the photos as a guide.
Locate the front of the face — this is the side of the head that is slightly more three-dimensional.
With CC1, embroider the eyes with two small horizontal stitches for each, placed about halfway down the face and spaced 4 stitches apart.
With CC2, embroider a nose with 2-3 wider stitches between and just below the eyes.
With CC3, embroider whiskers with one long diagonal stitch for each, placed as shown.
Use the tails you left on the ears to stitch their cast-on edges to the head, with the purl sides facing forward, placed as shown. Make your first and last stitches slightly forward from the rest, so that the ear will have a slight concave shape.
Use the cast-on tails you left on the legs to attach each to the body, placed as shown.
Weave in the remaining loose ends.
ABOUT THE DESIGNER
 Anna Hrachovec is a designer and artist who is obsessed with knitting little characters and bringing them to life using stop-motion animation. She named her woolly world Mochimochi Land after learning to knit in Japan, which is also where she fell in love with squishy, adorable, delicious mochi.
She is the author of six books — five books of knitting patterns and one children's book, Catside Up, Catside Down. Those who live in France and Canada should keep an eye out for Woolly Woolly, a new animated series based on Anna's knitted world. Coming in 2024 to TVO, ICI Radio-Canada, Knowledge Network, France TV!
Anna lives in Chicago with her husband, two kids and two cats.
Pattern & images © 2023 Anna Hrachovec