


Wiseknit™: A column that teaches you how to do things you'll find in knitting instructions
INTRODUCTION
Wiseknit™: Practical Knitting Wisdom
by Kate Atherley
One of the wonderful things about knitting is that there are so many different solutions to every problem, so many possible answers to every question. This column aims to expand your knitting knowledge and toolkit with practical solutions and answers to your technical knitting questions and conundrums.
Tips for knitting tiny things
I enjoy a small knitting project, in both senses of the word. I love a project that’s quick to complete—who doesn’t? And there’s so much joy in making actually tiny things!
And this issue has a new pattern from Anna Hrachovec of Mochimochiland, the timely Fumin’ Womb.
Like so many tiny little knitted things, it starts with a tiny number of stitches, worked on fairly tiny needles.
I thought I’d share a couple of tricks with you for handling these types of projects.
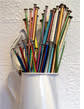
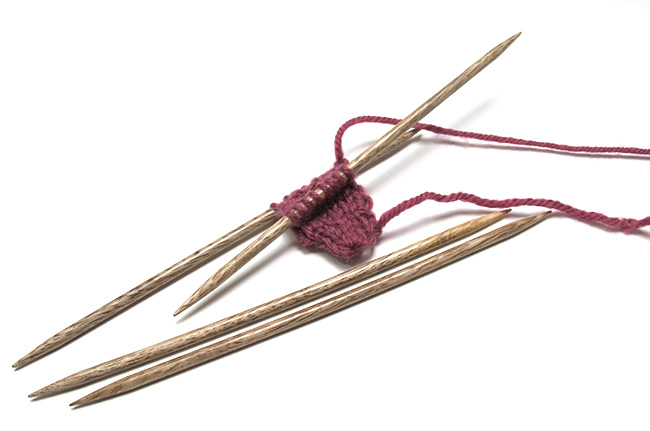
Tip #1: Needles
There are several ways to work in the round with smallish stitch counts: you can use traditional DPNs, the new flexible DPNs (a.k.a. FlexiFlips, Trios, Flyers), two circular needles, or 1 long circular with the magic loop method. Although any of these needle setups will work for items like socks and mitts and the tops of hats, when you’re working with fewer than about 15 or 16 stitches, some of them can be a little unwieldy.
Because of this, I recommend using traditional DPNs for these types of projects. To make it a little easier to handle, shorter ones are better, and absolutely always go for wood, bamboo or plastic ones.
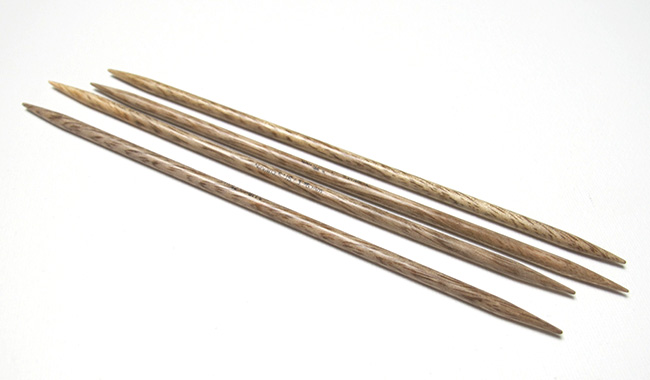
wooden DPNs are "stickier", or less slippery, than metal DPNs
Although normally I choose a slick metal needle, I really don’t want these stitches to fall off the needles (or vice versa). Because you’re using needles smaller than you normally would for the gauge of the yarn, the stitches are smaller and tighter and under a bit more tension, so they are much harder to pick up if they do get loose. In this case a needle with more friction is very helpful! Although they do slow my knitting a little, for such a small project, it’s much less of a bother.
I know that DPNs aren’t everyone’s favourite, but the right choice of tool really does help. And there’s a couple of things you can do when knitting to make it a little bit easier...
Tip #2: Casting On
When casting on, start with a slip knot, and use the cable or long-tail method. This gives you eight very stable stitches to start with.
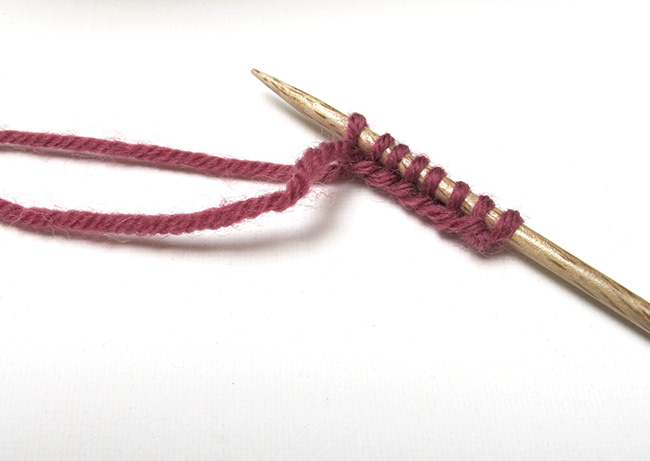
Long-tail cast on to get started
Tip #3: Working the First Rounds
Then, instead of distributing the stitches across three needles right away, let’s break the rules.
Distribute the stitches only across two needles, instead of three.
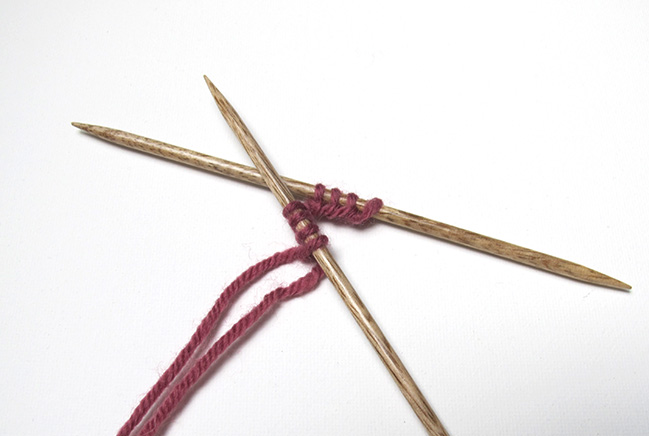
Eight stitches on two DPNs
How to join tiny rounds the easy way:
Knit the first stitch of the joining round with both ends of the yarn, the working yarn and the tail. This helps close the gap and keeps everything tidy. And don’t worry about placing a marker; the tail will show you where the round began.
Work the first nine rounds, including the first two sets of increases, with your stitches set up on two needles, using a third to work around.
Yes! Really! Normally, you would never do this, as it can cause some serious laddering, but you’re only doing it for a small number of rounds, and if there are particularly egregious ladders, you can tidy things up when you weave the ends in. Tugging the first two stitches on each needle as much as possible as you work them also helps avoid ladders.
Only on Round 10 when you've increased to 16 stitches should you introduce the additional needle, and distribute your stitches across three of them by putting 8 stitches on the first needle, and 4 stitches each on the next two, as follows: Knit across the first needle as you have it, and knit the first four stitches of the second needle with a new needle, and then knit across the last four stitches with a third needle.

Between the larger stitch count at this point, and the well-established fabric, the work on your DPNs will be much better behaved!
Tip #4: On the Grafting
To make a smoother close, skip the setup step for the graft. Always begin (and end) with the repeated step:
Front needle: Insert darning needle into first stitch knitwise, and slip the stitch off the knitting needle; insert darning needle into next stitch purlwise and leave on the needle.
Back needle: Insert darning needle into first stitch purlwise, and slip the stitch off the knitting needle; insert darning needle into next stitch knit and leave on the needle.
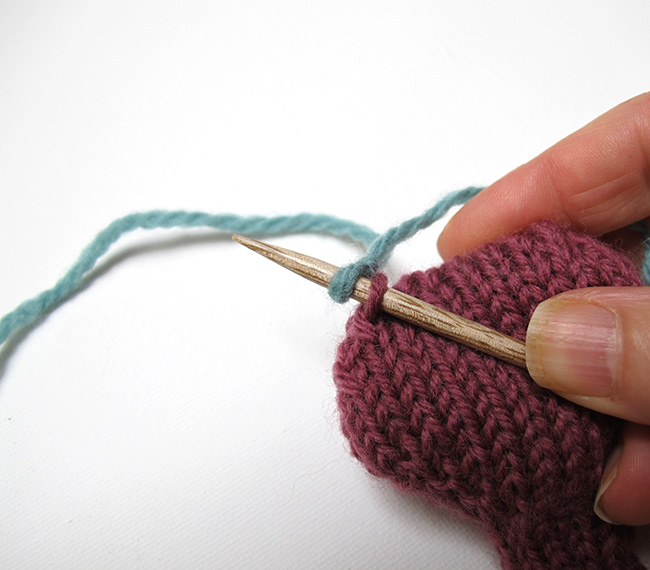
Tip #5: Picking Up For the Fallopian Tubes
You’ll need to rejoin the yarn to work the pick-up and knit. So that nothing slips out or gets loose, I recommend another hack: make a slip knot a couple of inches up from the end of the working yarn. When you poke the needle under to grab the stitch, put the slip knot onto the end of the needle and pull that through, to make your first stitch.
Note: in both the picture below and the video I’m using a contrasting color so you can see more clearly what I’m doing.
When I have all four stitches, I put them back on the one needle.
And when making the boxing gloves, I used the same two-needle trick for the first couple of rounds, just until I had 16 stitches.
Whatever tiny thing you’re making, I hope these tips help!
ABOUT THE AUTHOR
 Kate Atherley is Knitty's Managing Technical Editor and a knitting author and teacher. She’s also the co-founder and publisher of Digits & Threads, an independent, member-supported online magazine about Canadian fibre- and textile arts, crafts and industry. The combination of her university degree in mathematics, professional experience in software development and usability, and training in garment and fashion design give her a unique perspective.
You can see more of her work at kateatherley.com, and on Ravelry.
Pattern & images © 2022 Kate Atherley.